
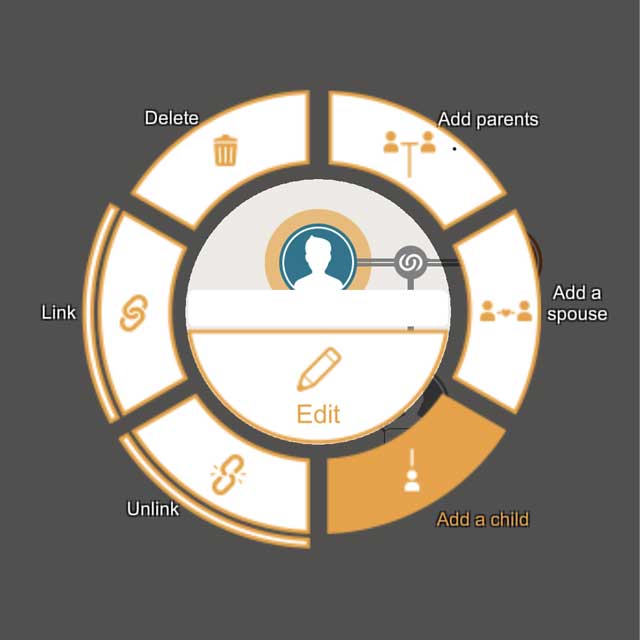
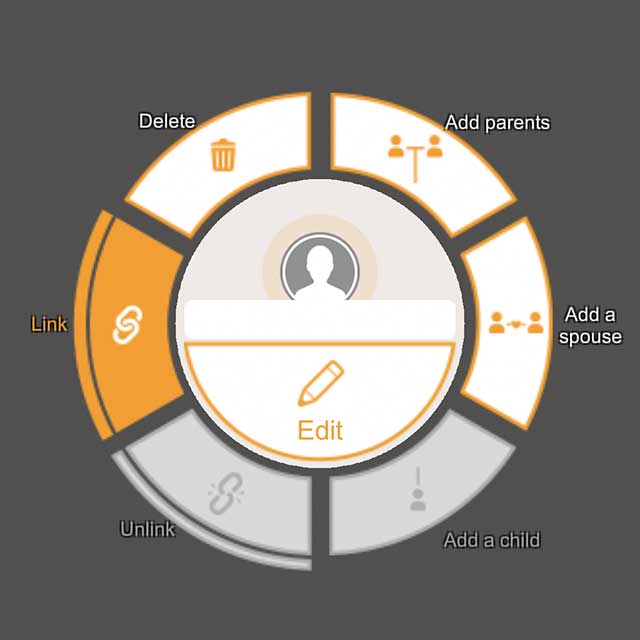
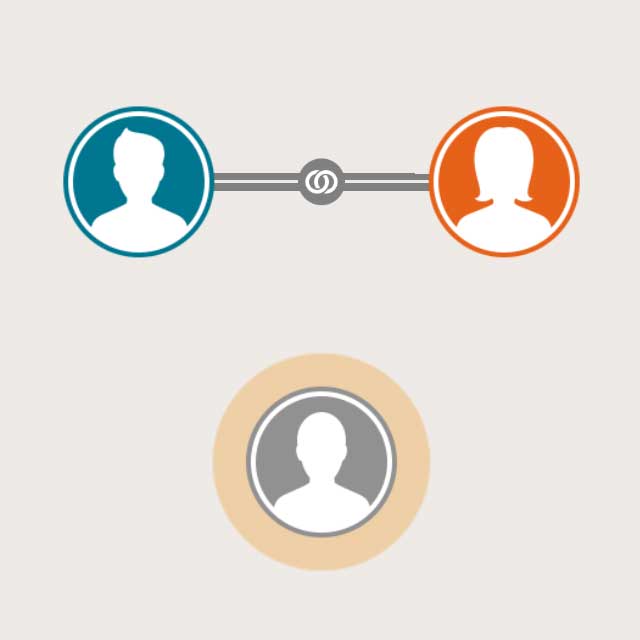
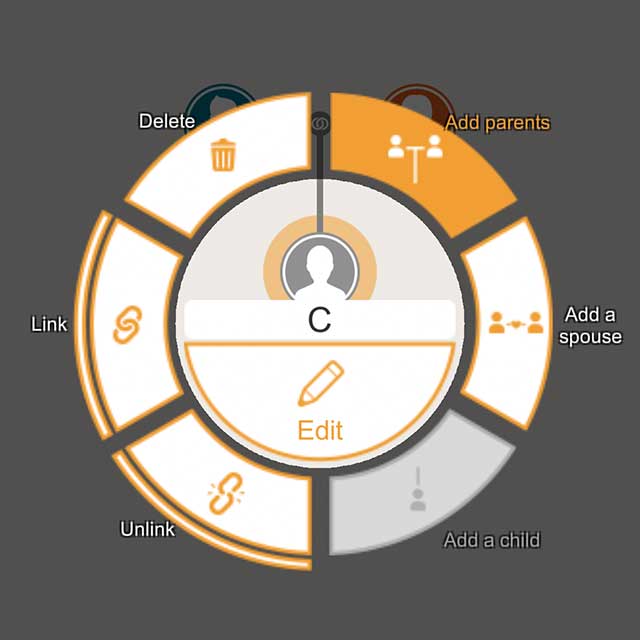
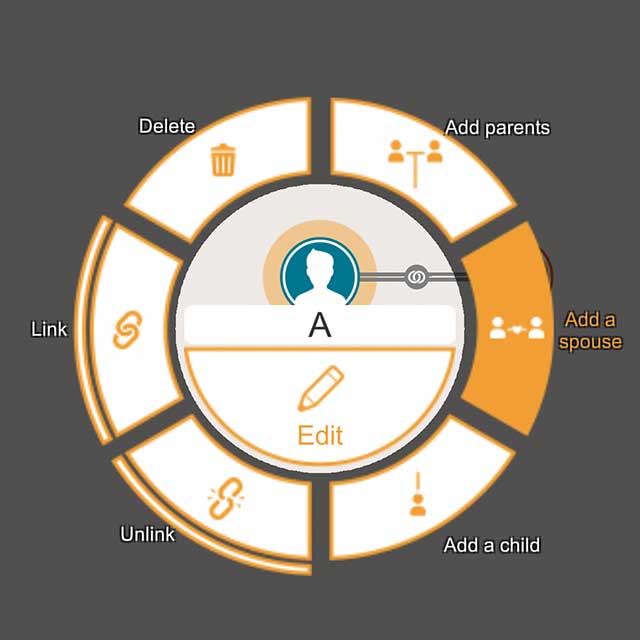
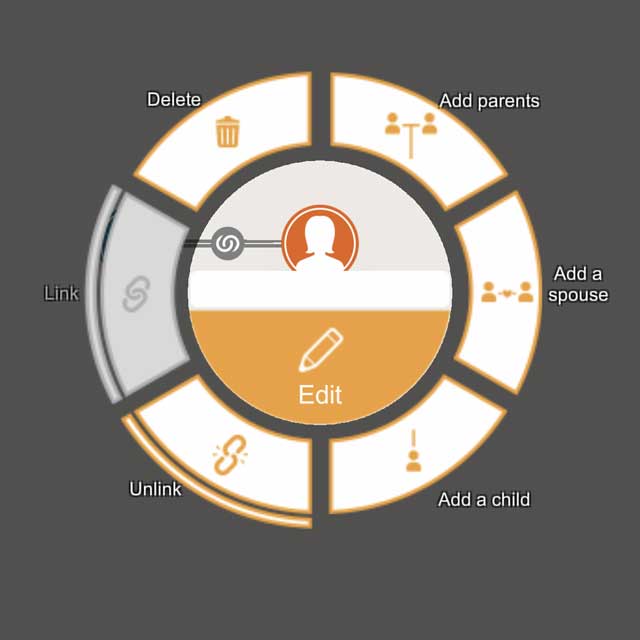
Tap the selected person to display a menu
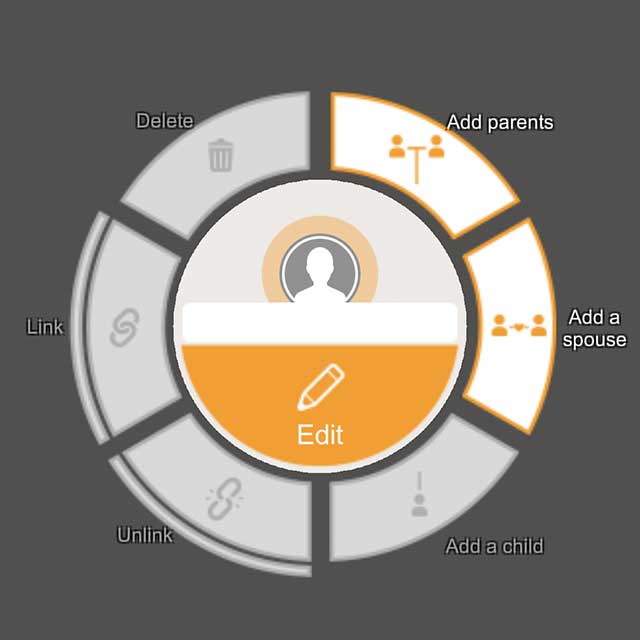
Tap the "Edit" button in the menu
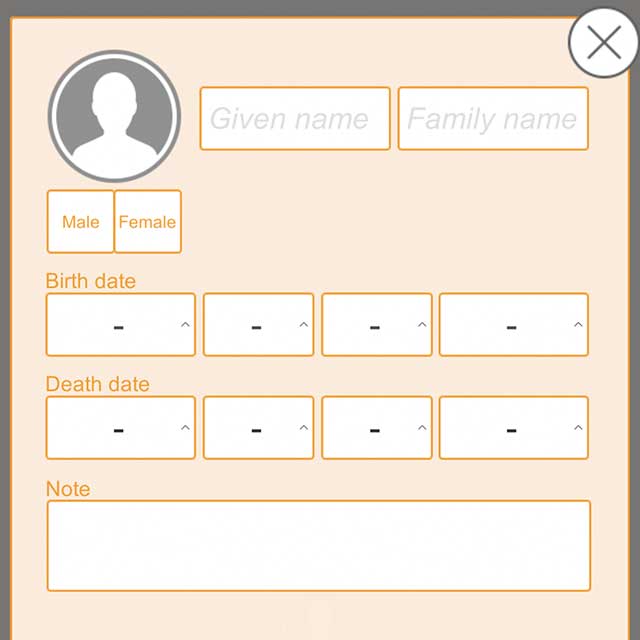
Enter the information and click the close button on the upper right to save the contents and close the window

Tap the selected person to display a menu
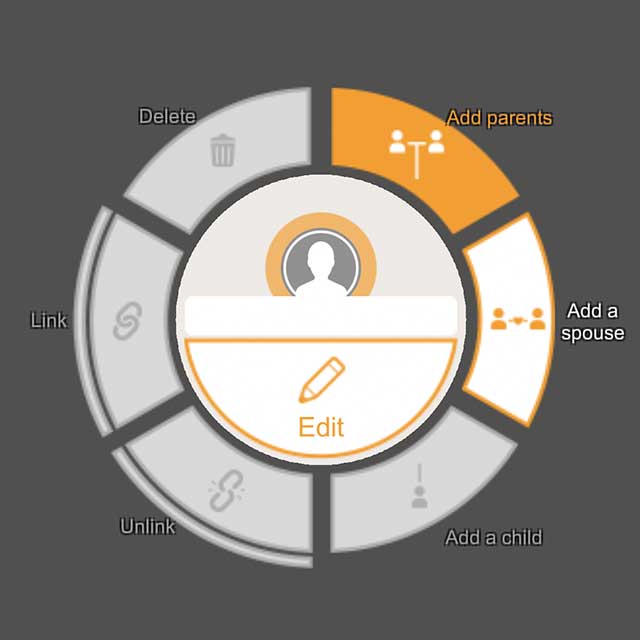
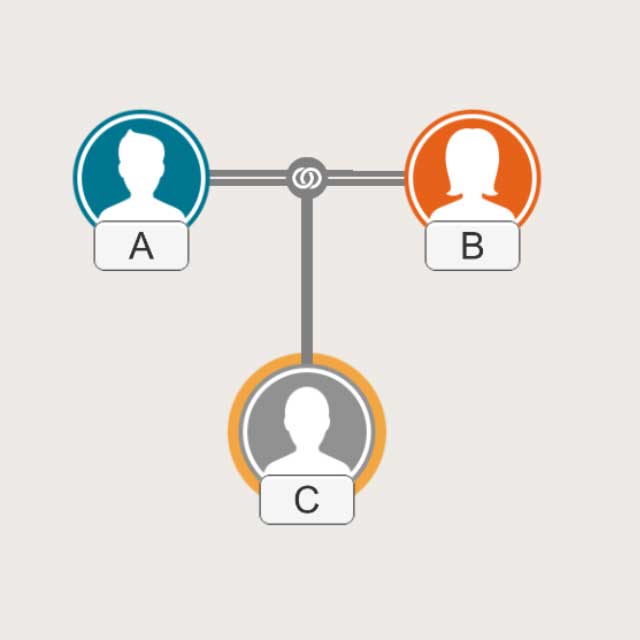
Tap the "Add parents" button in the menu

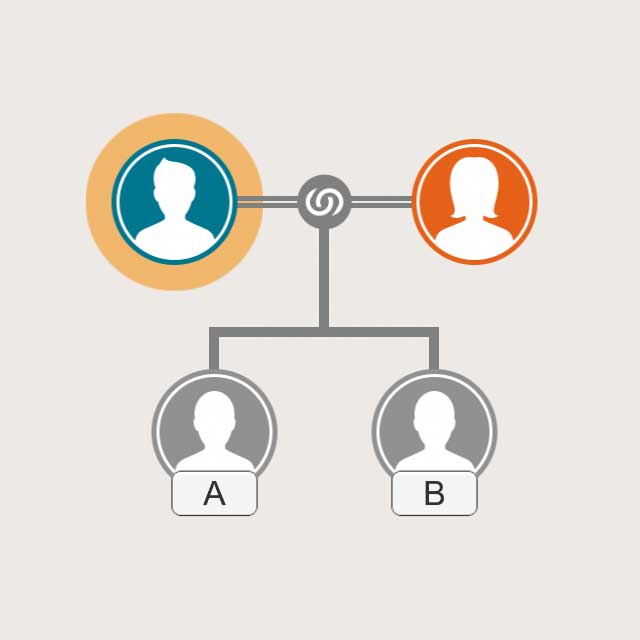
Parents will be added

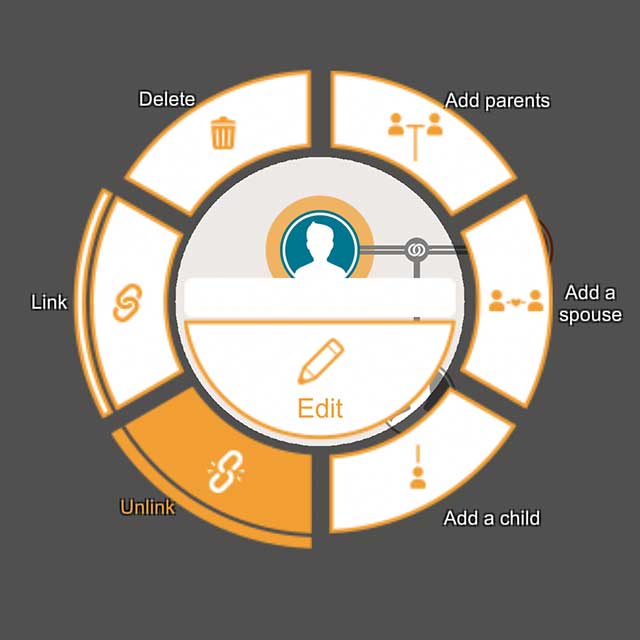
Tap the selected person to display a menu
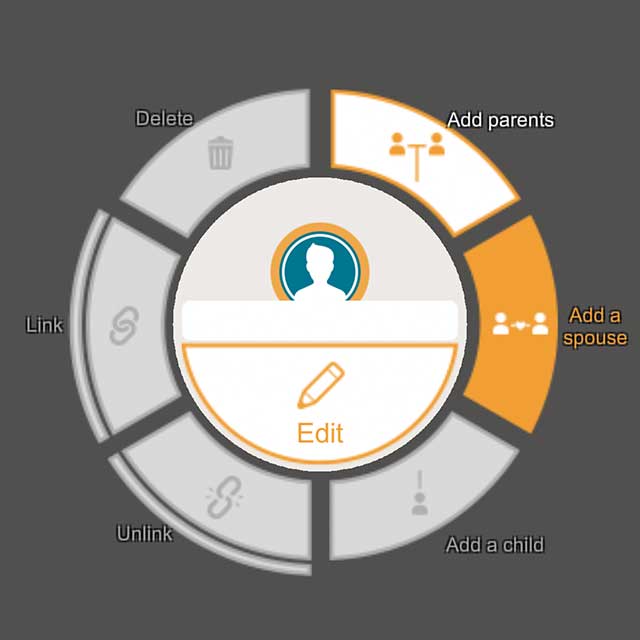
Tap the "Add a spouse" button in the menu
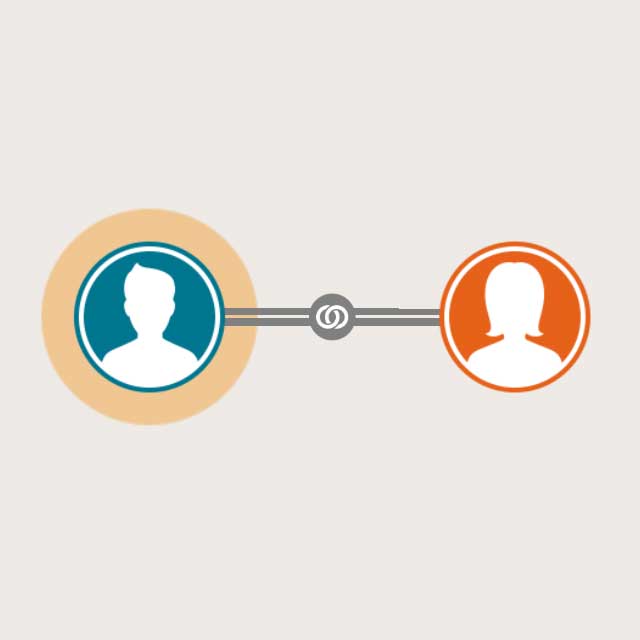
Spouse will be added

Tap on the person with the spouse to bring up a menu

Tap the "Add a child" button in the menu
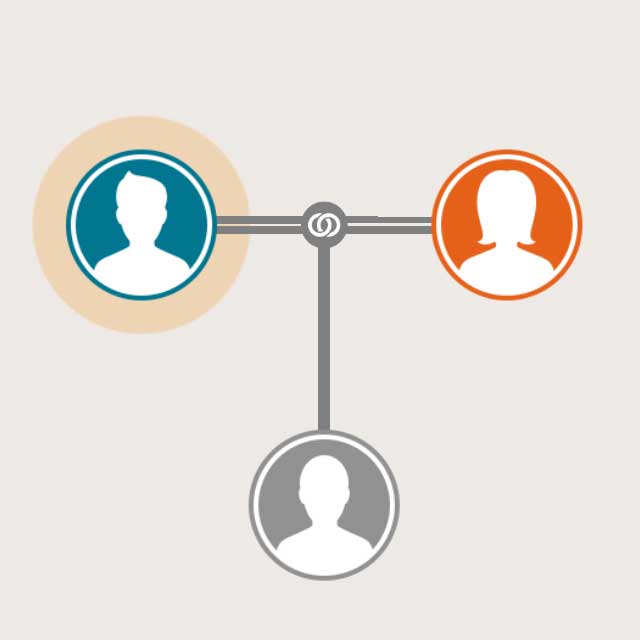
Child will be added
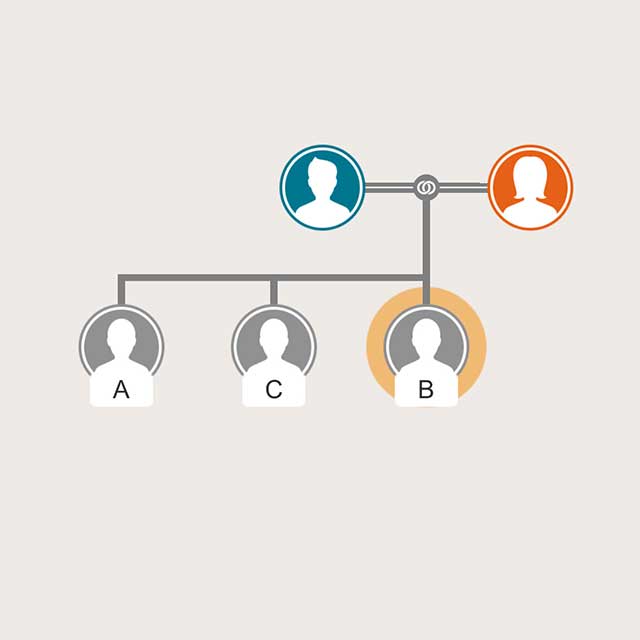
Tap the parent of the person you want to add a sibling
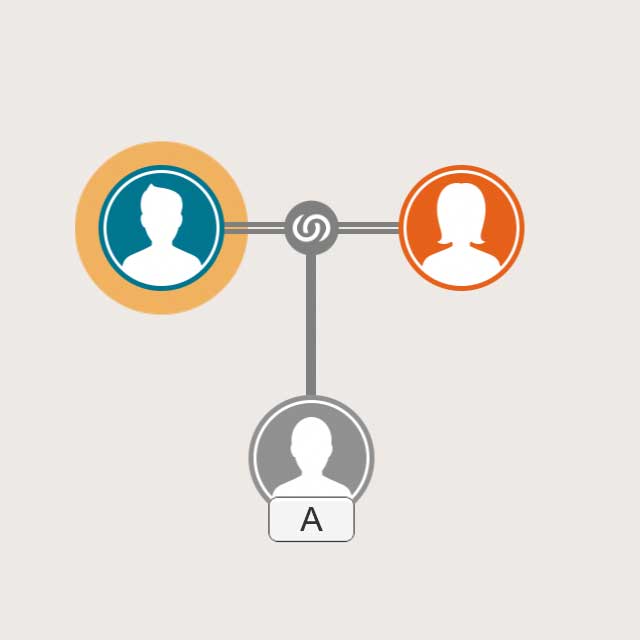
Tap the "Add a child" button in the parent menu
Siblings are added
Tap the selected person to display a menu.
Tap the "Link" button in the menu.
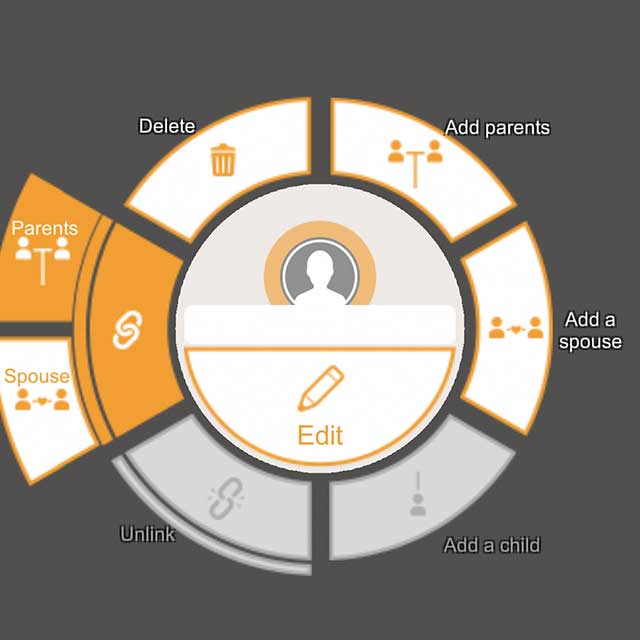
Tap the "Parents" button in the submenu

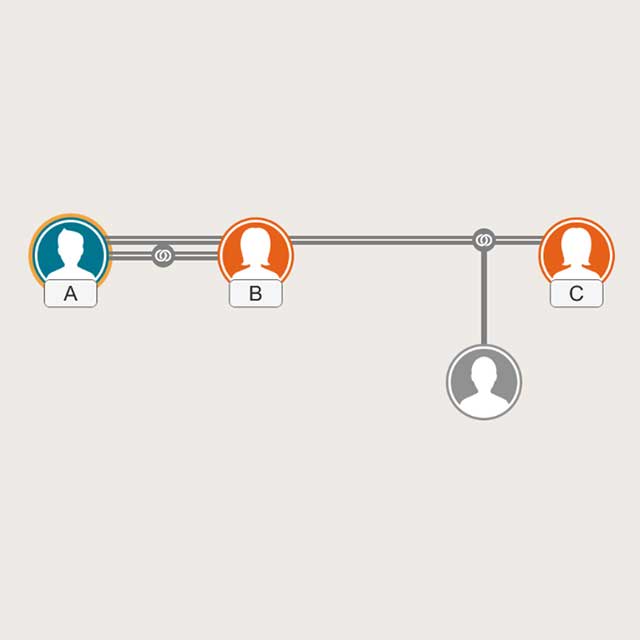
Select the couple you want to connect to from the "Select parents to link" list and tap the "Link" button

Parents will be added
Tap the selected person to display a menu.
Tap the "Link" button in the menu.

Tap the "Spouse" button in the submenu
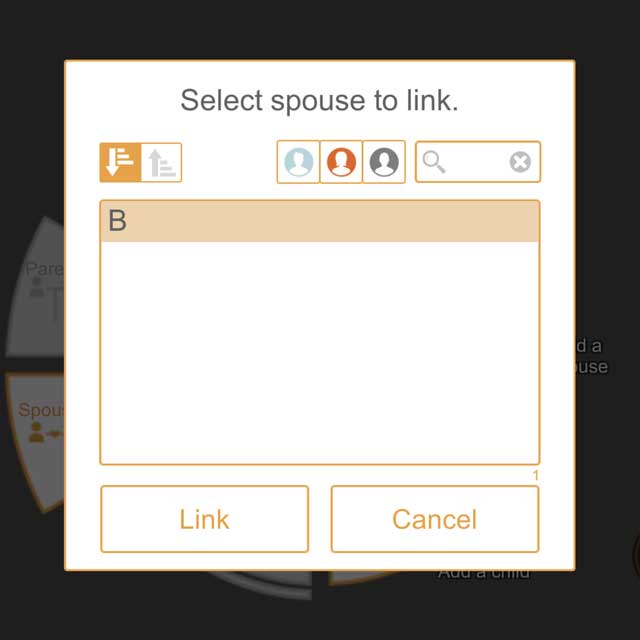
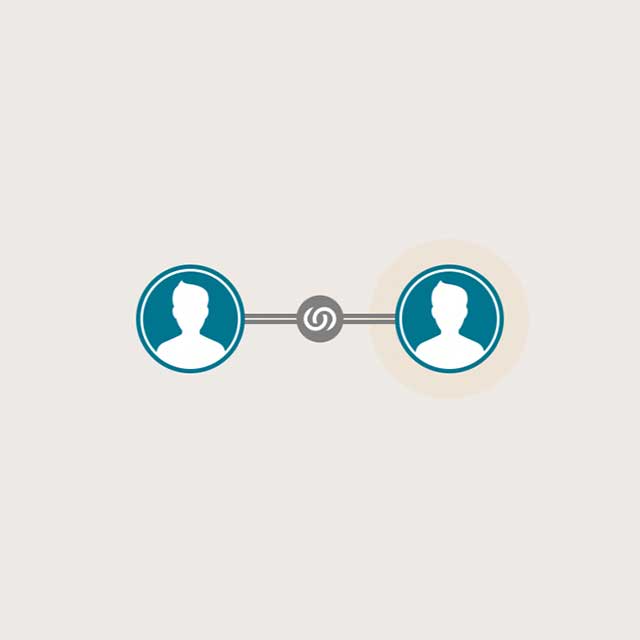
Select the person you want to connect to from the "Select spouse to link" list and tap the "Link" button
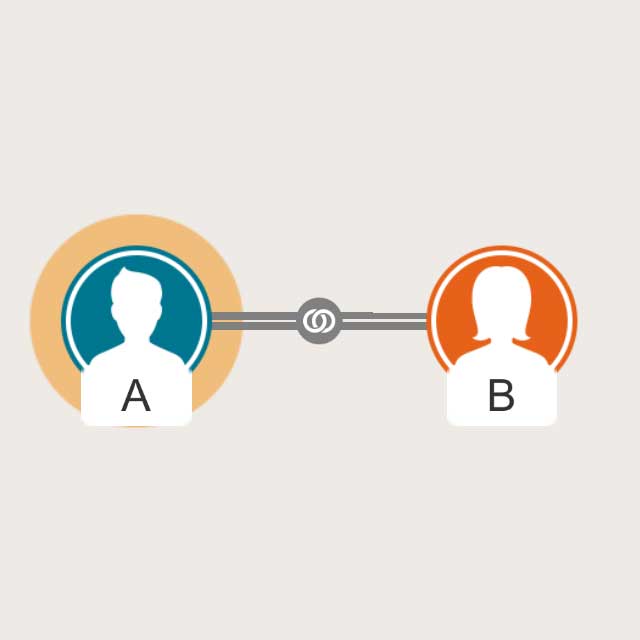
Spouse will be added
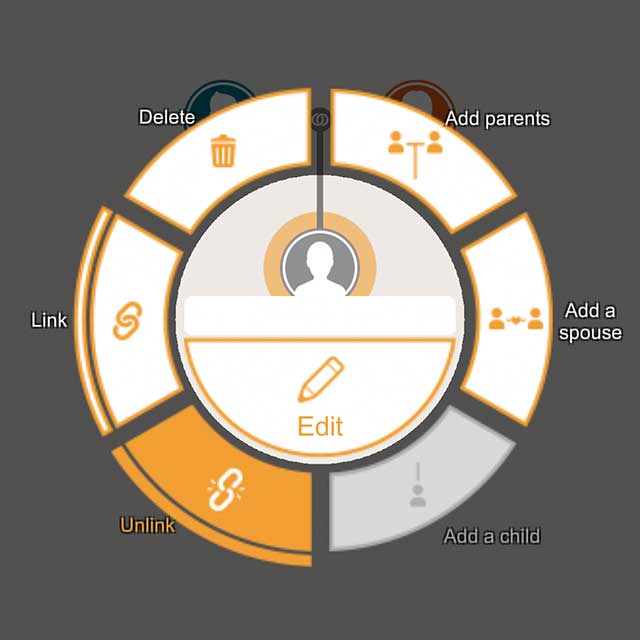
Tap the selected person to display a menu.
Tap the "Unlink" button in the menu.
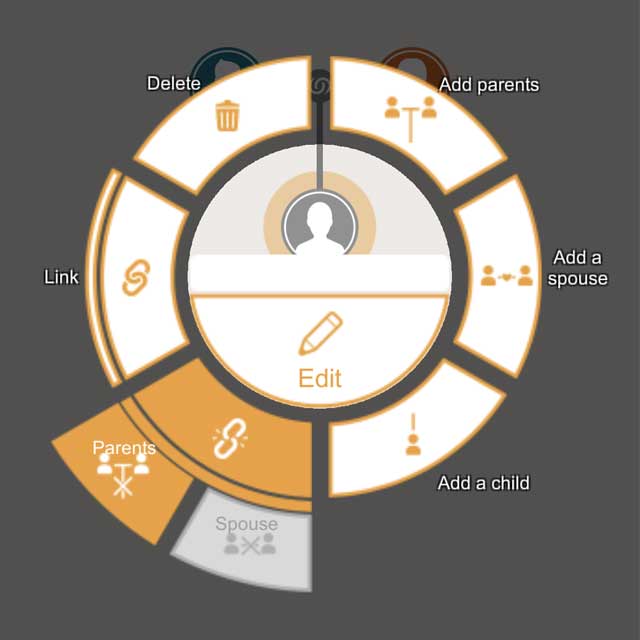
Tap the "Parents" button in the submenu
Break off parental relationship
Tap the selected person to display a menu.
Tap the "Unlink" button in the menu.
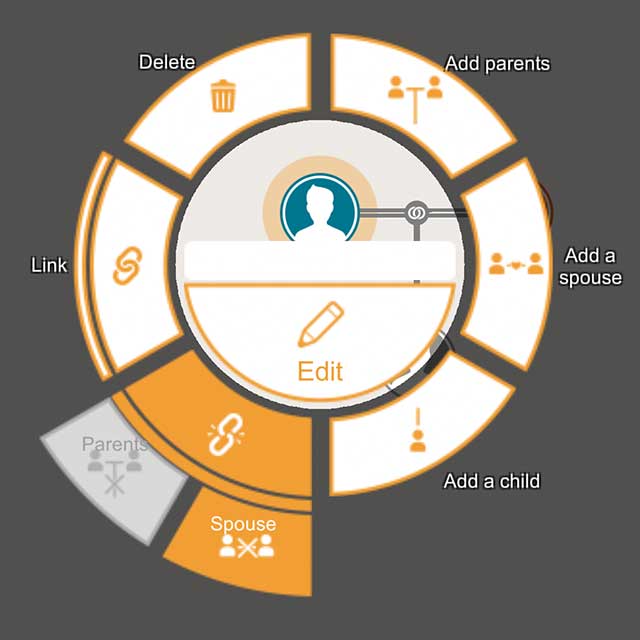
Tap the "Spouse" button in the submenu

Break off spouse's relationship with their child

Tap the selected person to display a menu.
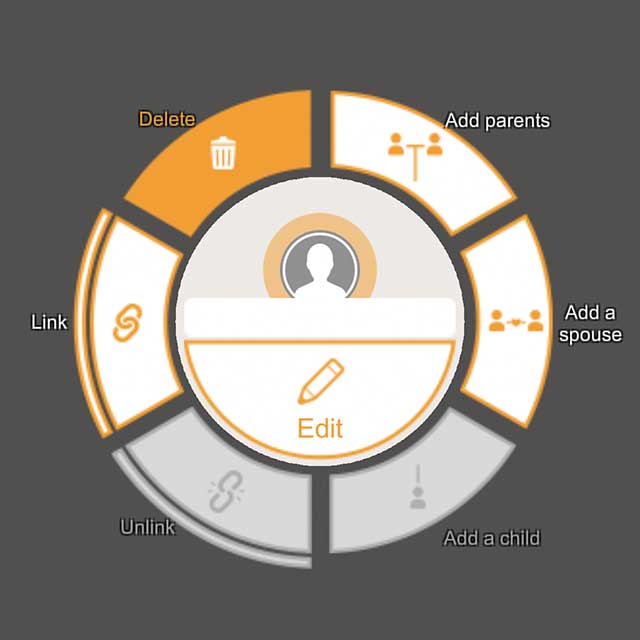
Tap the "Delete" button in the menu.
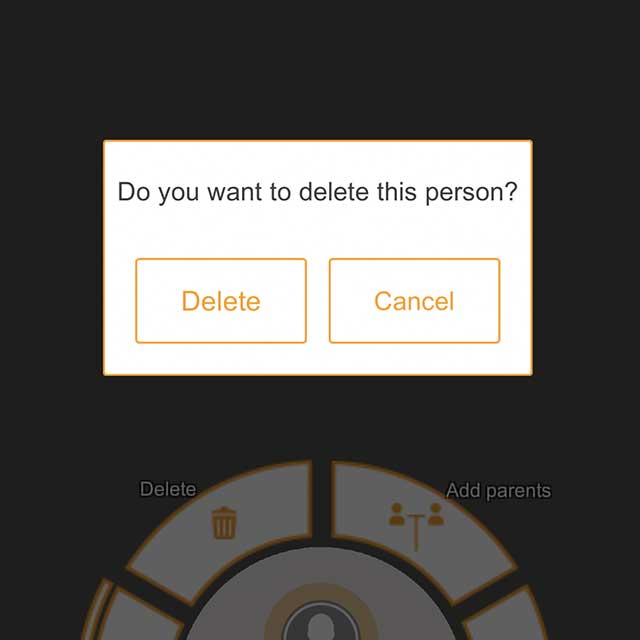
Tap the "Delete" button in the dialog

The selected person will be deleted
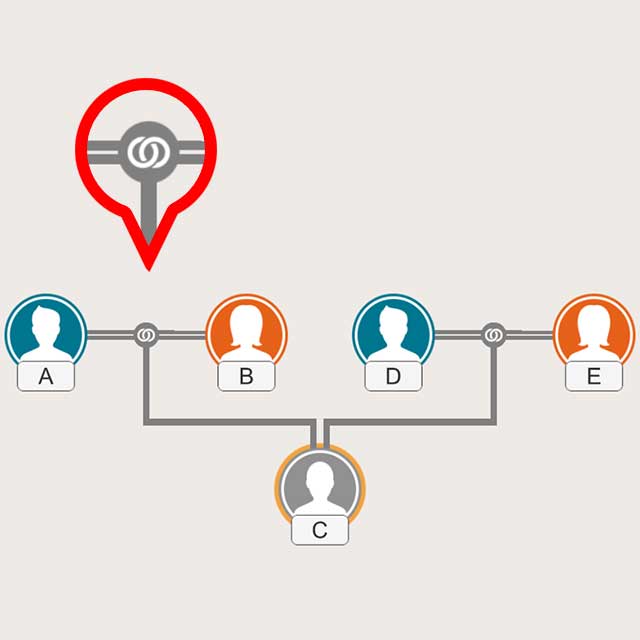
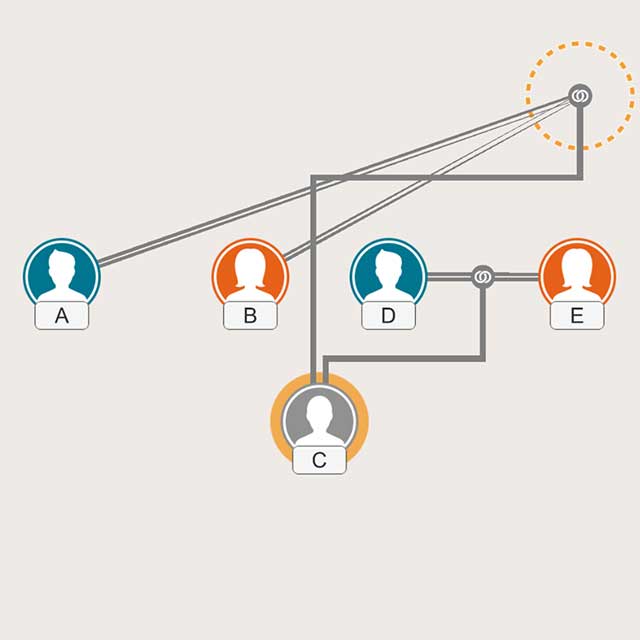
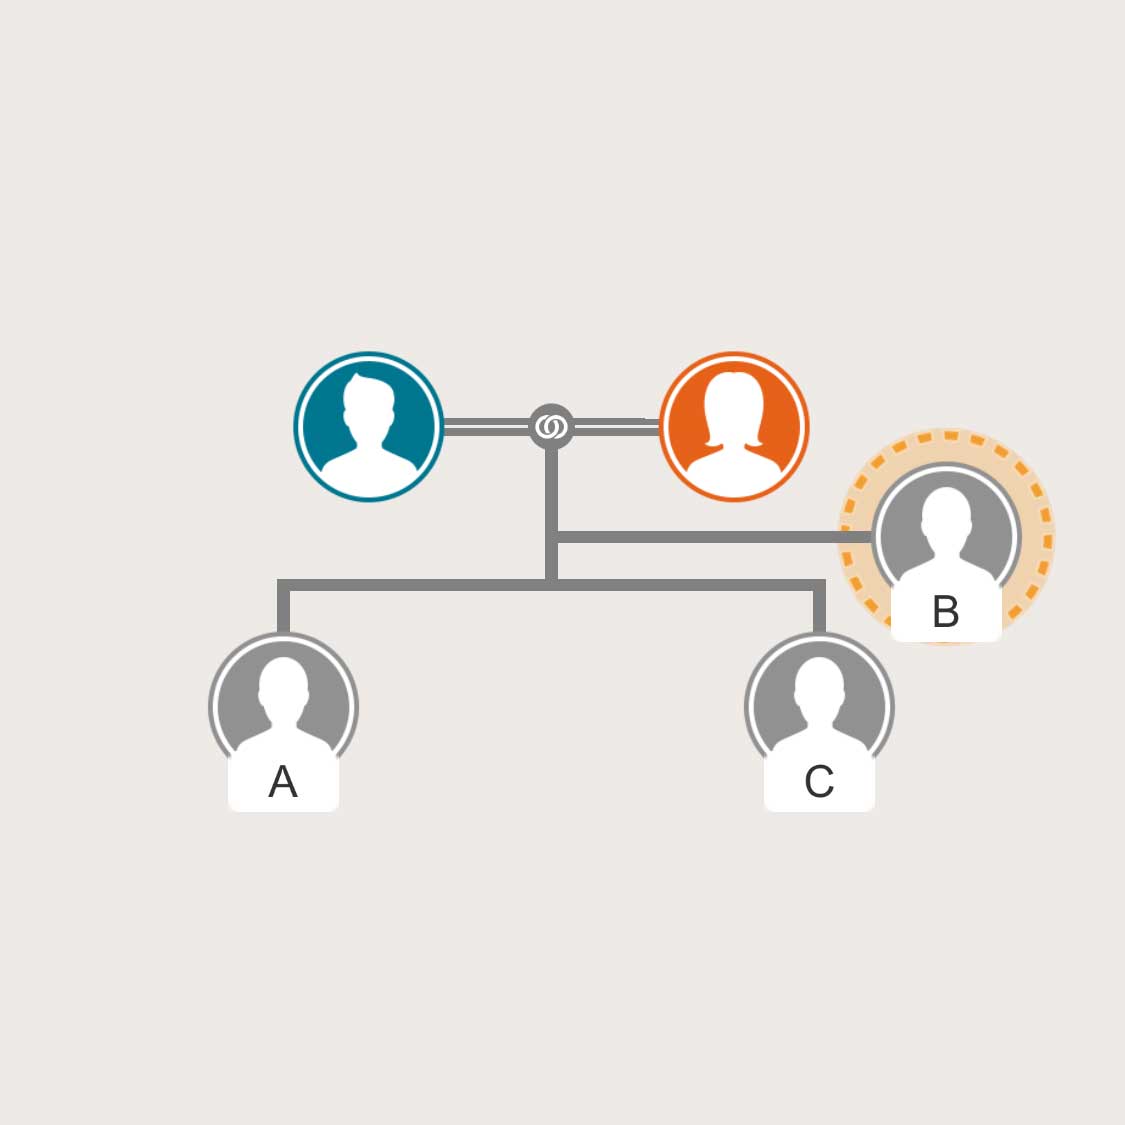
You can connect two couples and a child to establish an adoptive relationship.
Make a connection from the adoptive child.
Tap the child to adopt and tap the "Add parents" button in the menu
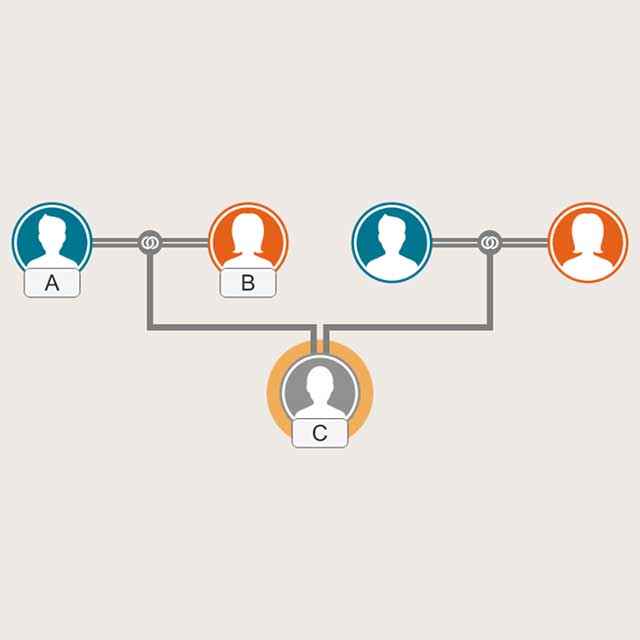
Parents are added (connected with two sets of parents)
Change the position of two sets of parents
Drag and release the couple connection icon
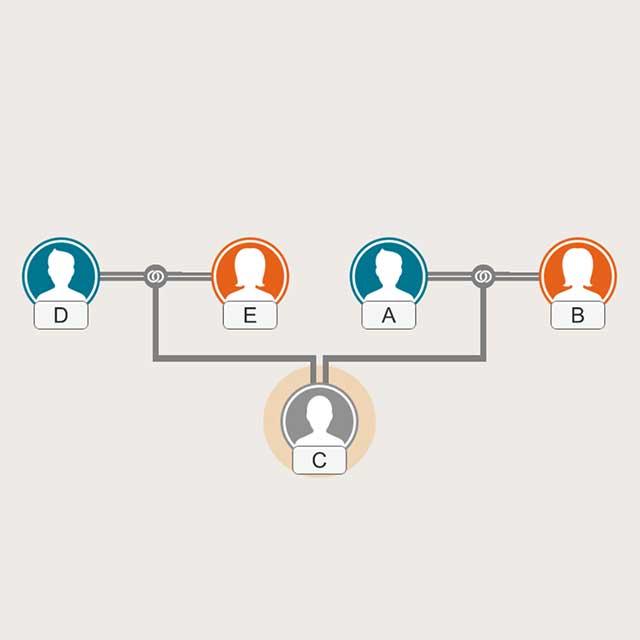
Left and right are swapped
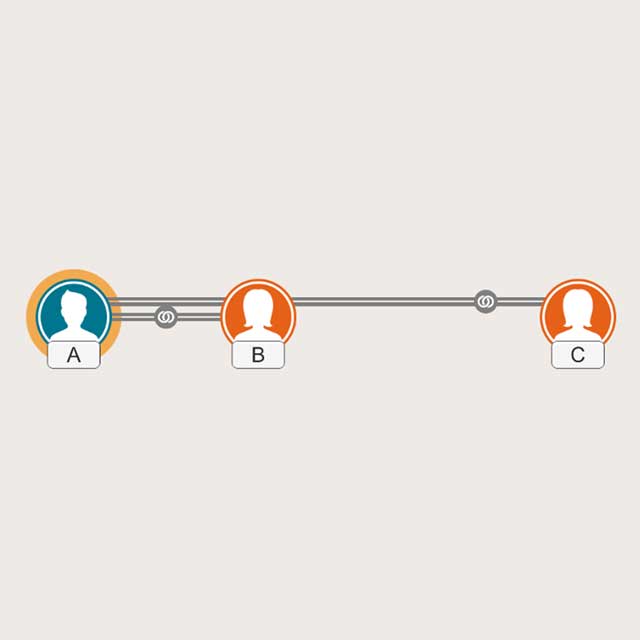
You can add multiple spouses to one person.
Tap the "Add a spouse" button in the menu
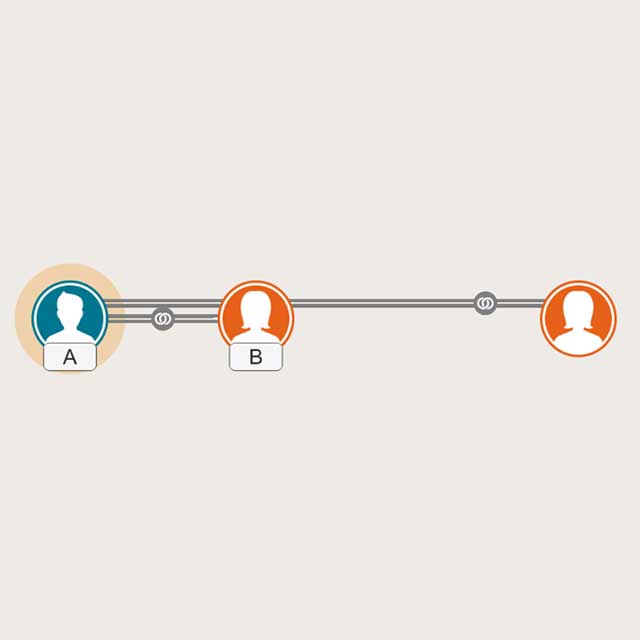
Spouse is added to someone who already has a spouse
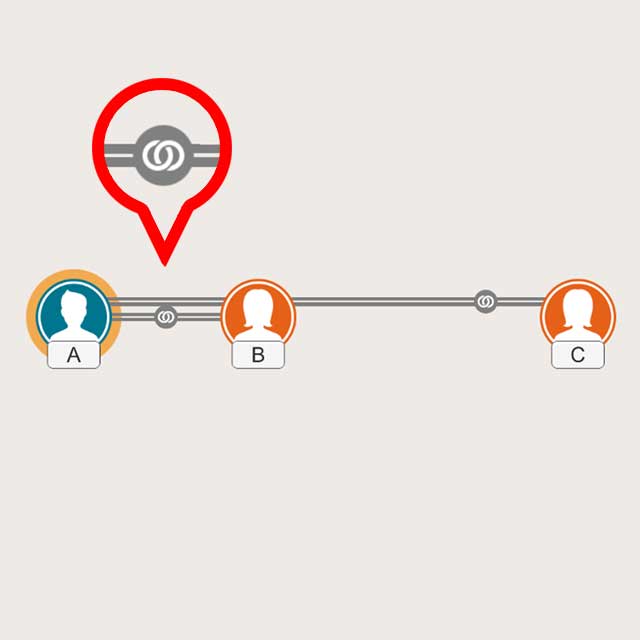
Change the position of multiple spouses
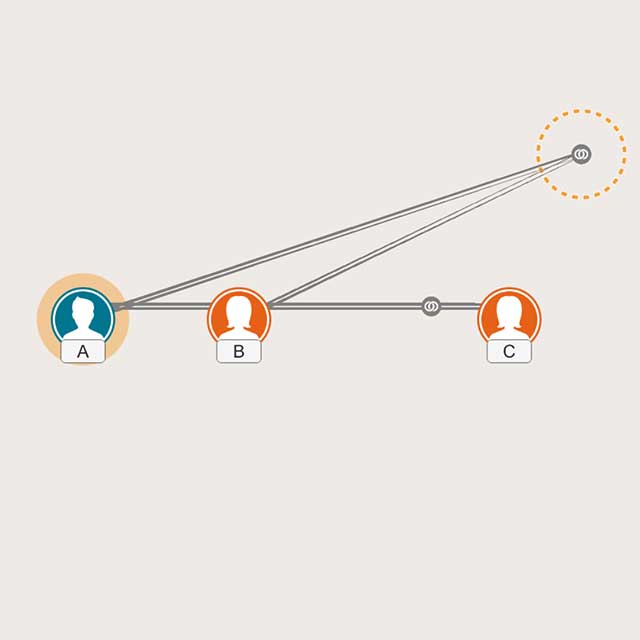
Drag and release the couple's connection icon
Left and right are swapped
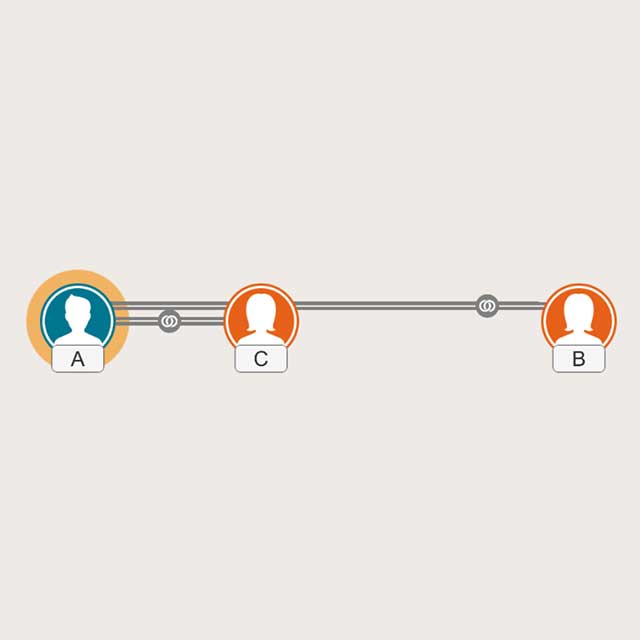
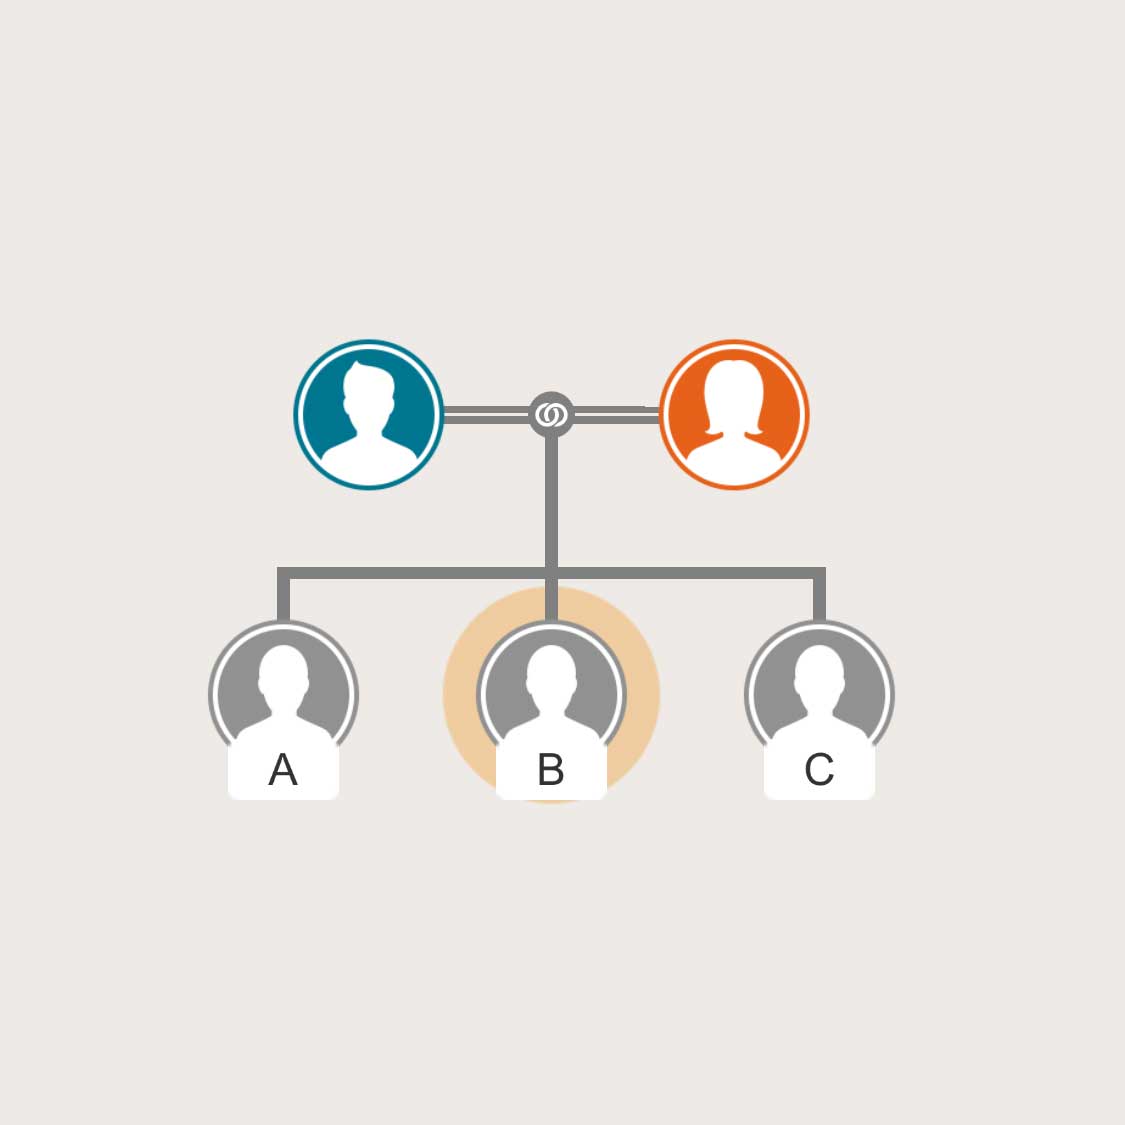
When there are multiple spouses, tap the selected person to display a menu
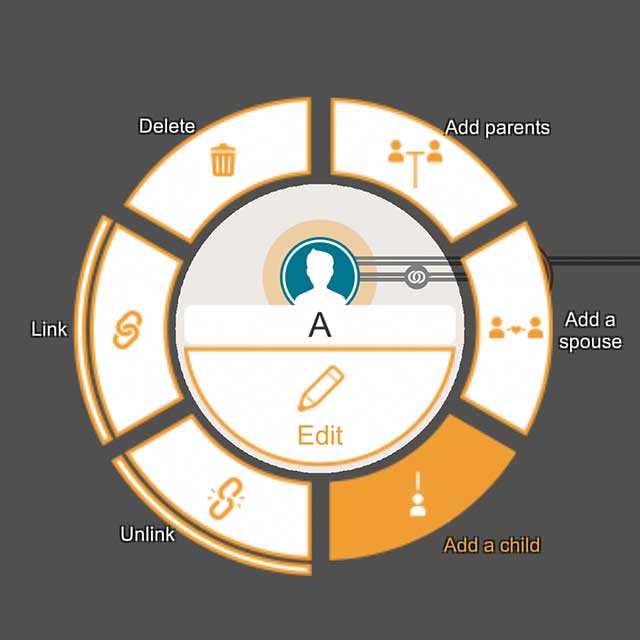
Tap the "Add a child" button in the menu
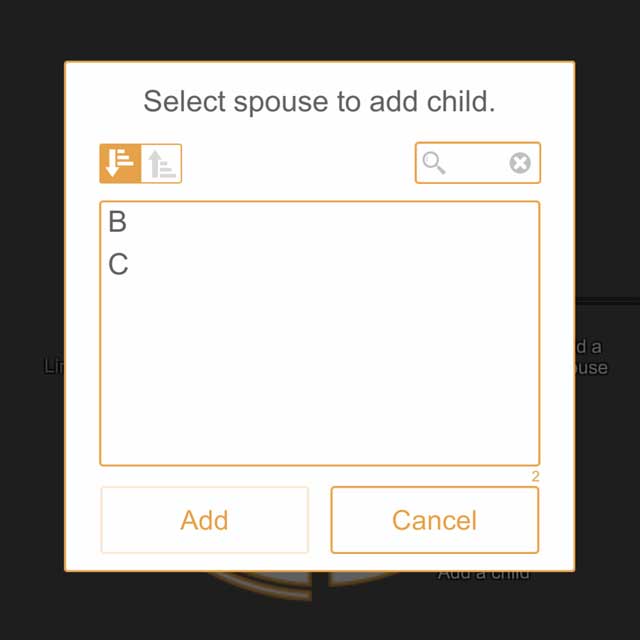
Select the spouse you want to add a child from the list and tap the "Add" button
Child will be added
The spouse of a gender-determined person is added to the spouse of the opposite sex. (Even if parents are added, the default setting is a heterosexual couple.)
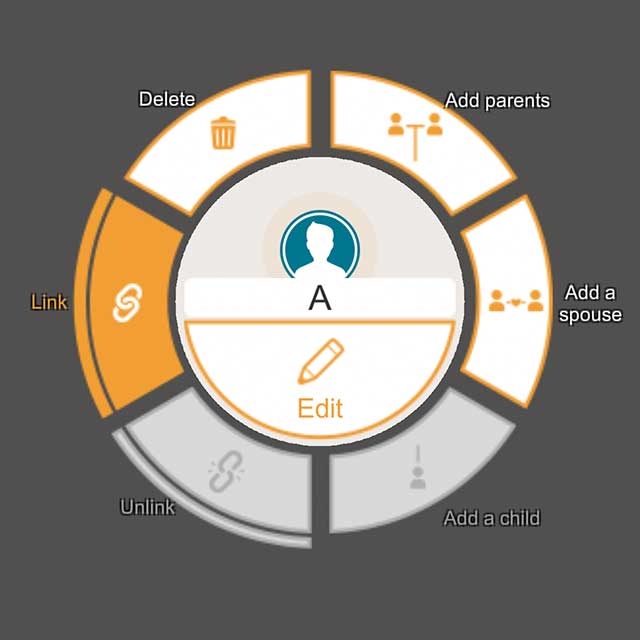
Tap the "Edit" button in the menu

Select gender
Change to spouse of same sex
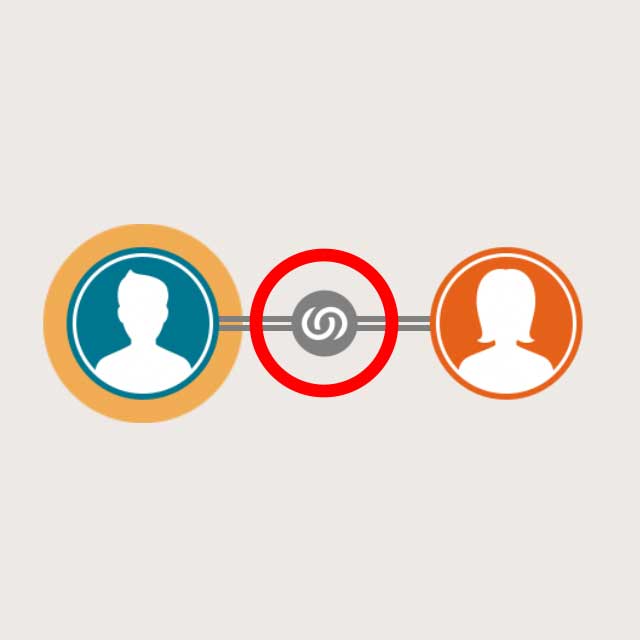
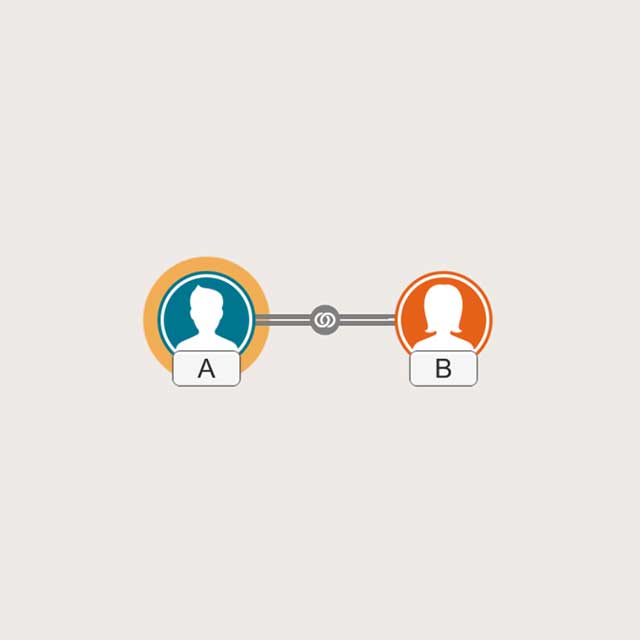
Tap the icon between the couple

The icon changes to a divorce icon (tap again to return)

You can select the range to display descendants with the buttons of "Child" "Child & Spouse" "Grandchild" "Unlimited" at the lower left
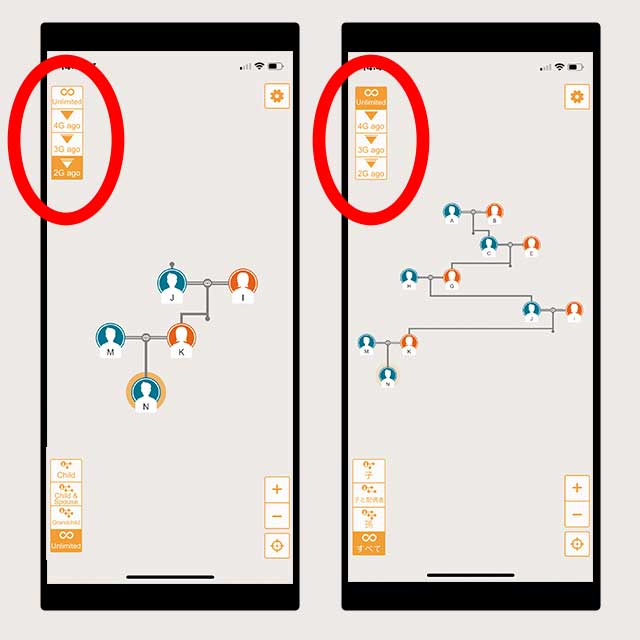
You can select the display range of your ancestors with the buttons "2G ago", "3G ago", "4G ago", "Unlimited" on the upper left
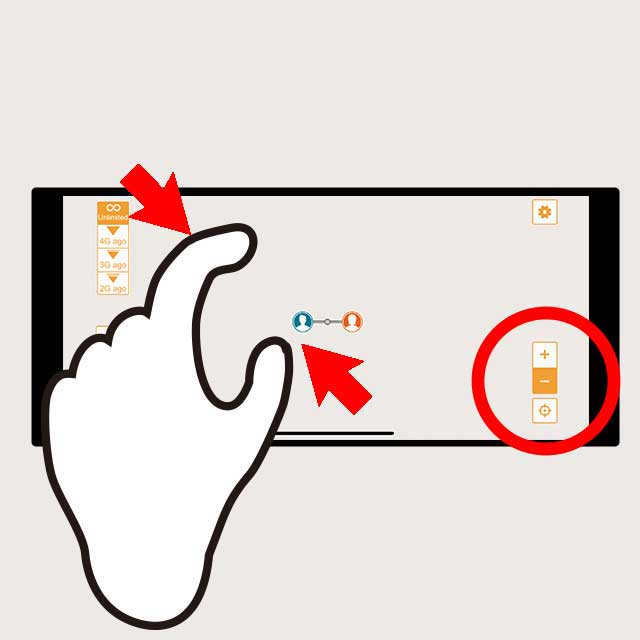
Pinch in or tap the lower right "-" button to reduce the screen
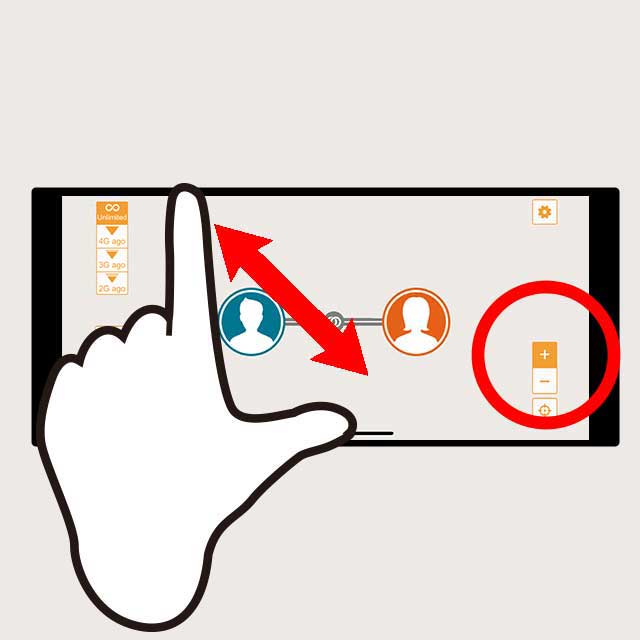
Pinch out or tap the "+" button at the bottom right to enlarge the screen
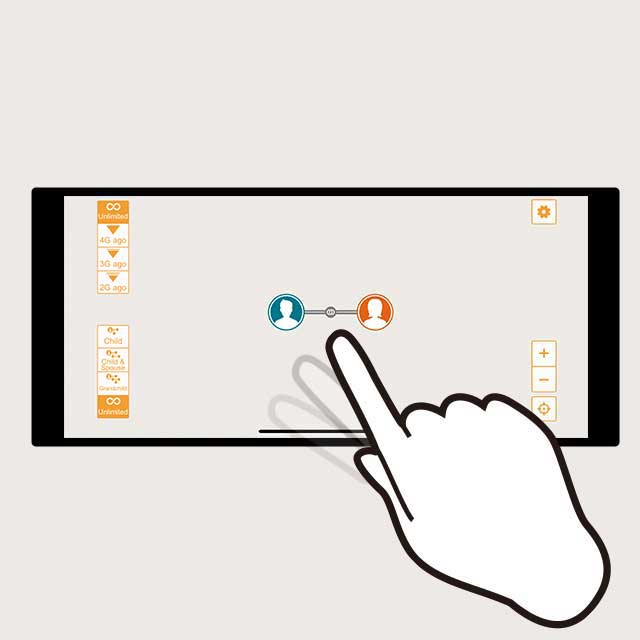
Drag the blank area of the screen to move the display area
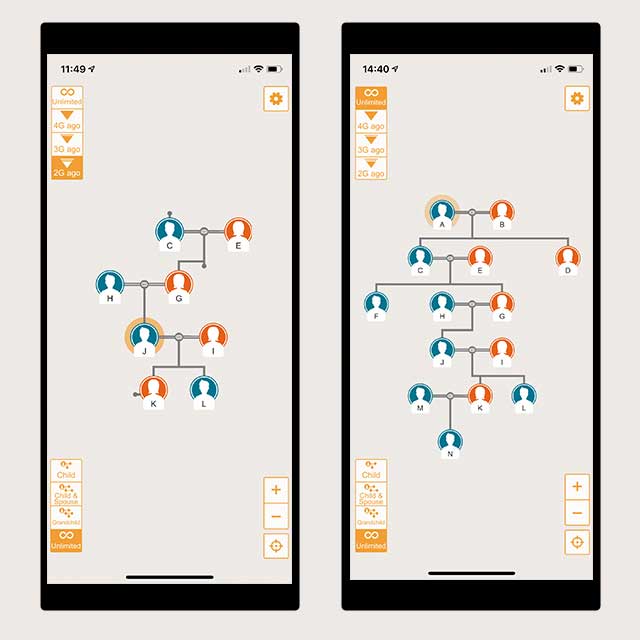
Display ancestors and descendants centered on the selected person
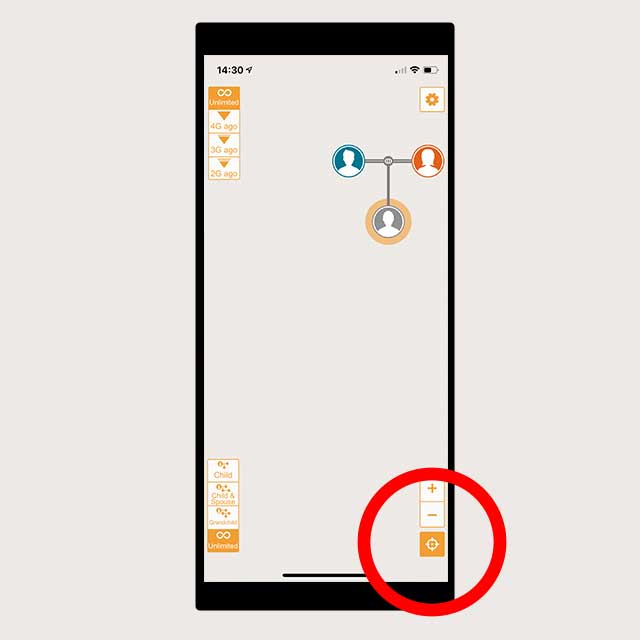
If you want the selected person to be the center of the screen, tap the lower right cursor button
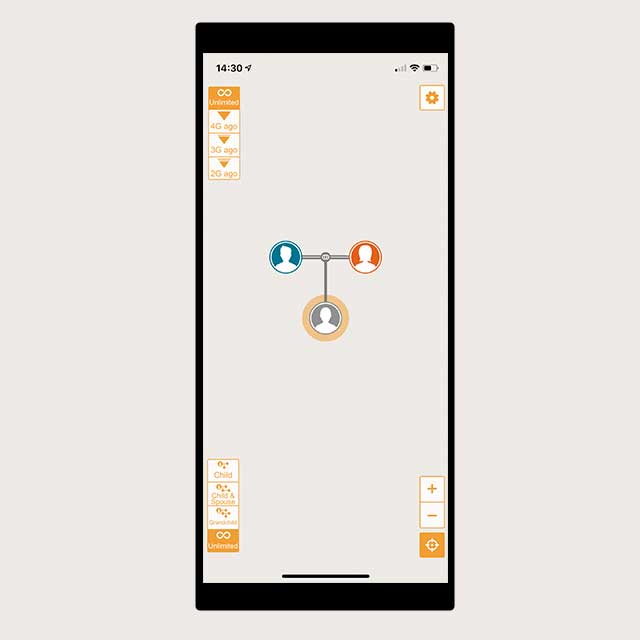
The selected person moves to the center of the screen
Drag the person you want to change the order
Drag to the position want to change and release
The order is changed
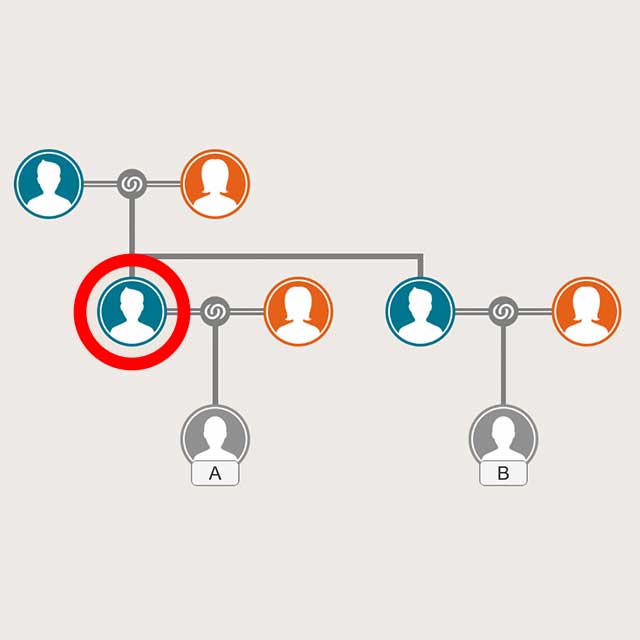
Select the parent of the person whose cousin you want to display. (Paternal and maternal cousins cannot be displayed at the same time due to application specifications.)
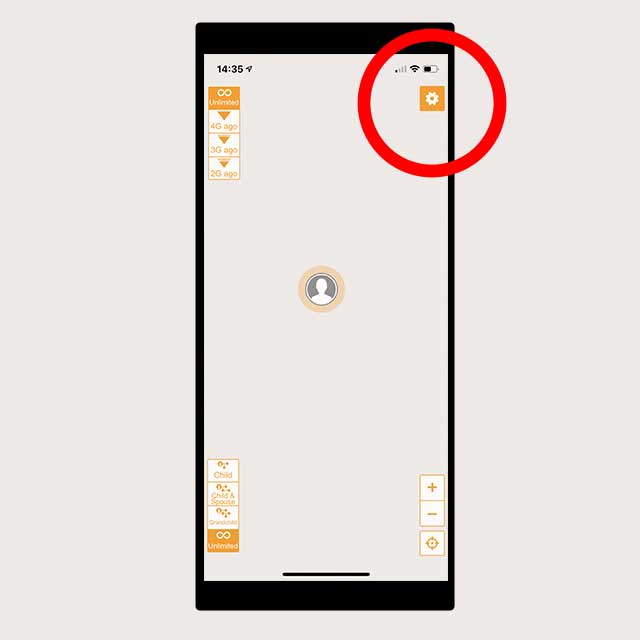
Tap the "gear" button on the top right to display the settings screen
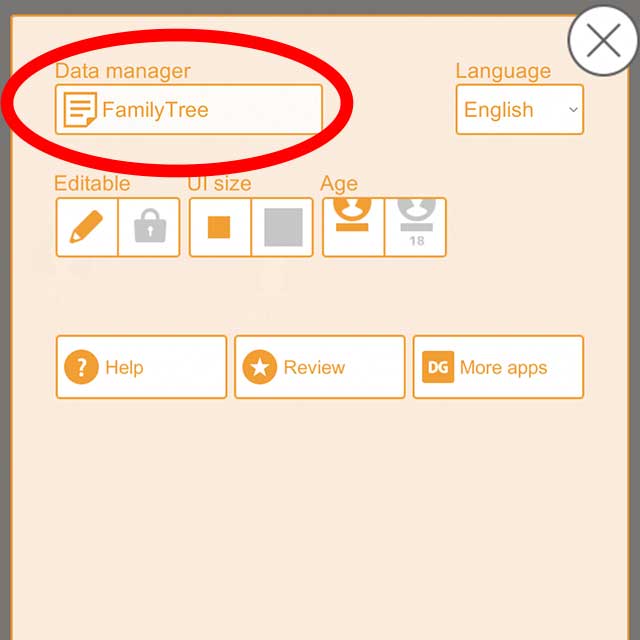
Tap "Data manager" on the upper left
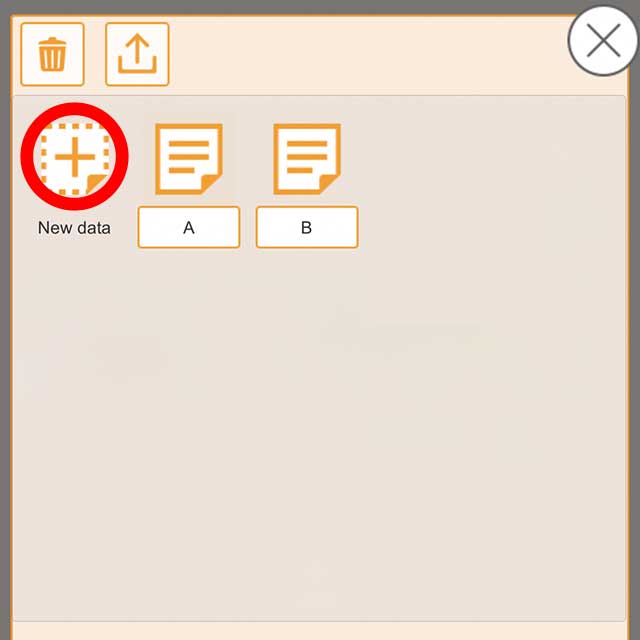
Tap "New data" to create new data
Tap the "gear" button on the top right to display the settings screen
Tap "Data manager" on the upper left
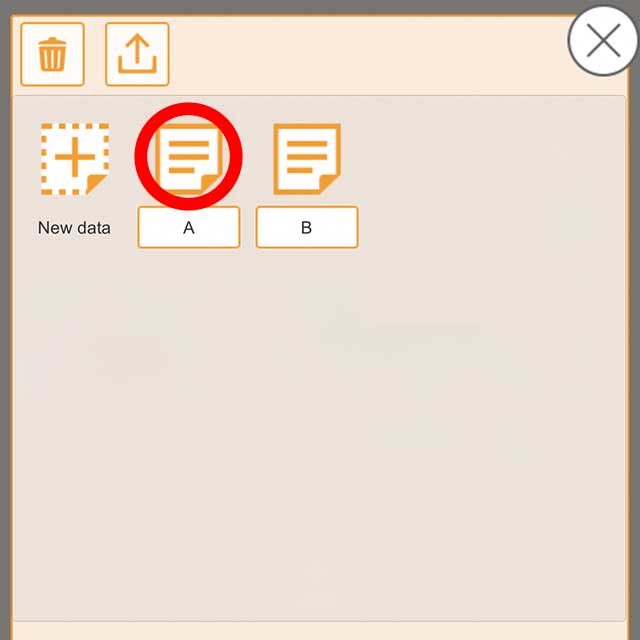
Select the data you want to edit
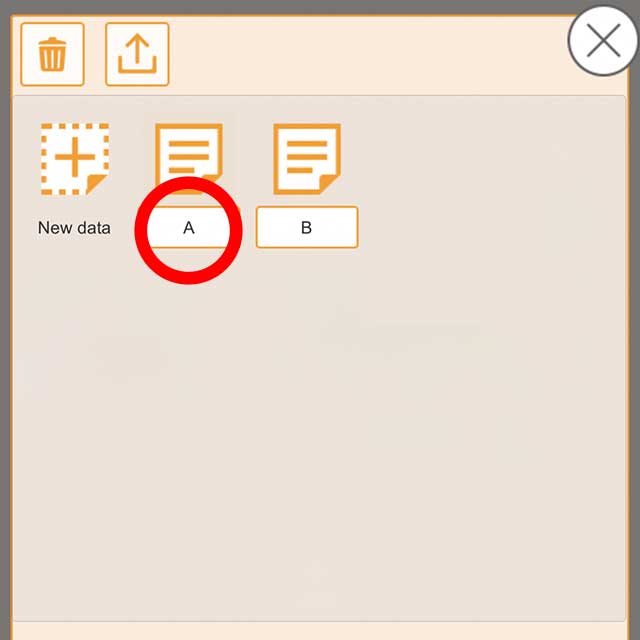
If you want to change the name of the saved data, tap the name part below and edit
Tap the "gear" button on the top right to display the settings screen
Tap "Data manager" on the upper left
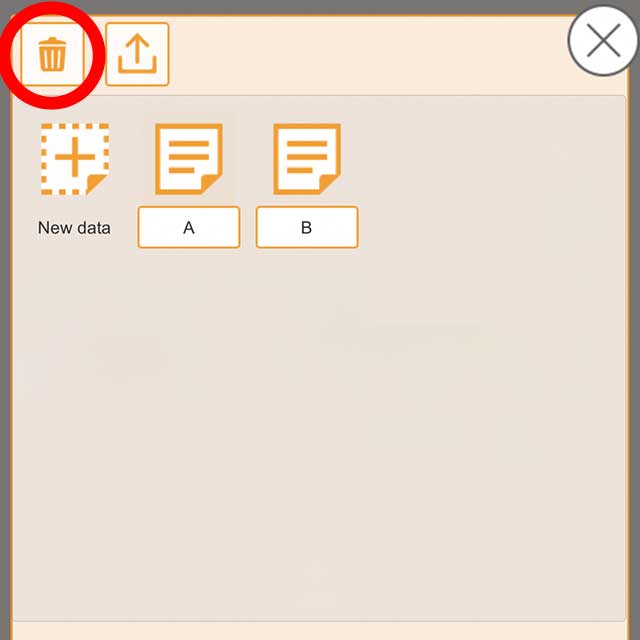
Tap the "Trash" button on the top left
]
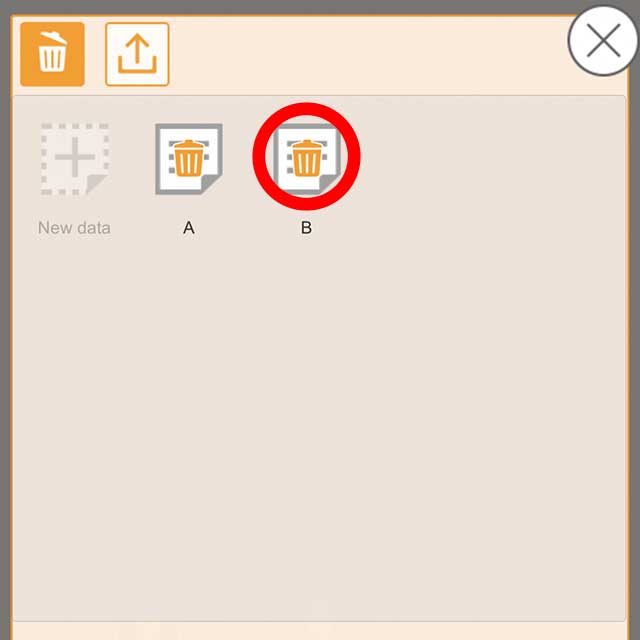
Select the files you want to delete
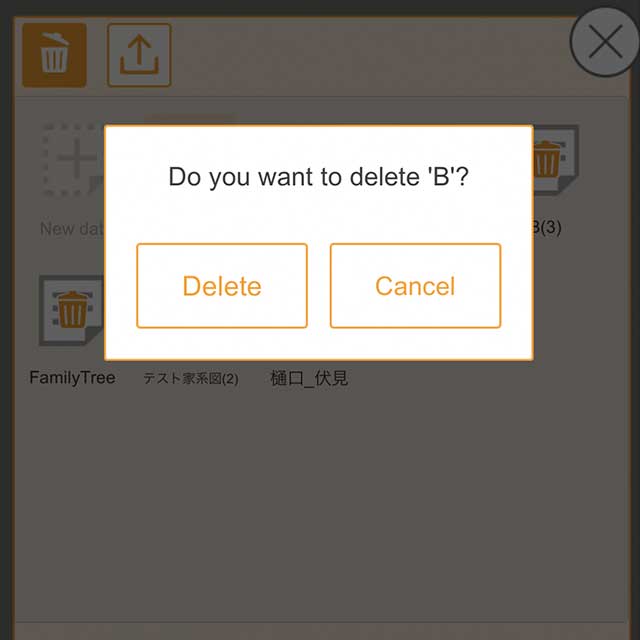
Select "Delete" in the dialog
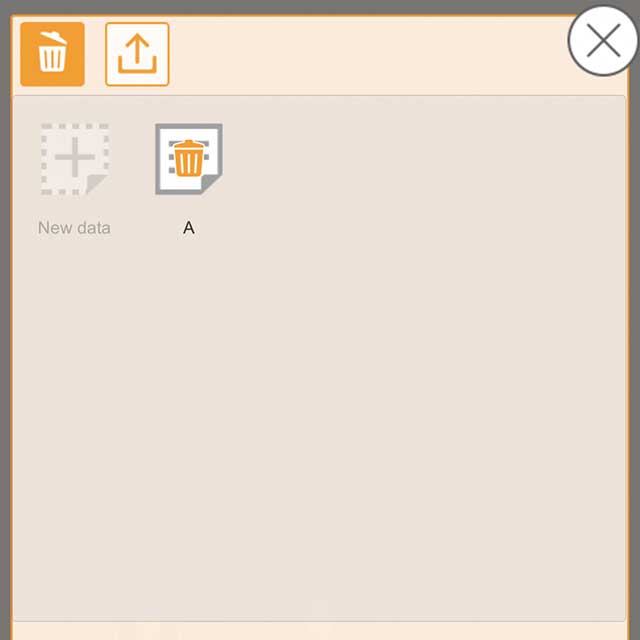
Data will be deleted
The display differs slightly depending on the type of OS and terminal.
Click here for iOS
Tap the "gear" button on the top right to display the settings screen
Tap "Data manager" on the upper left
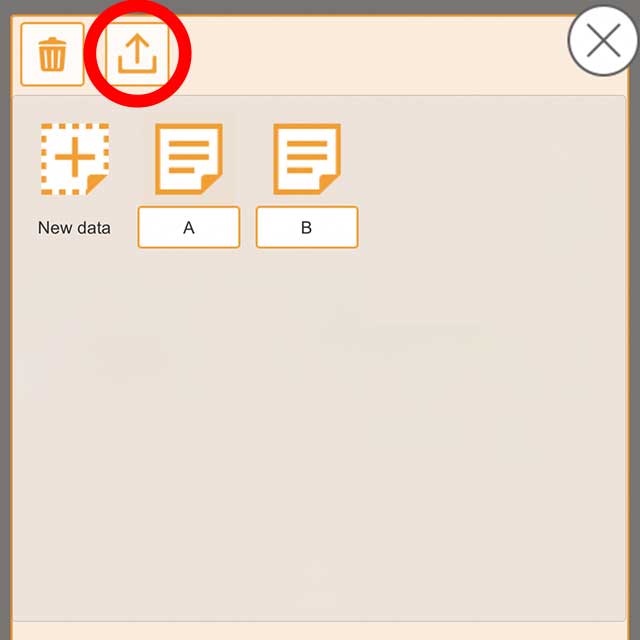
Tap the "Export" (up arrow) button at the top left
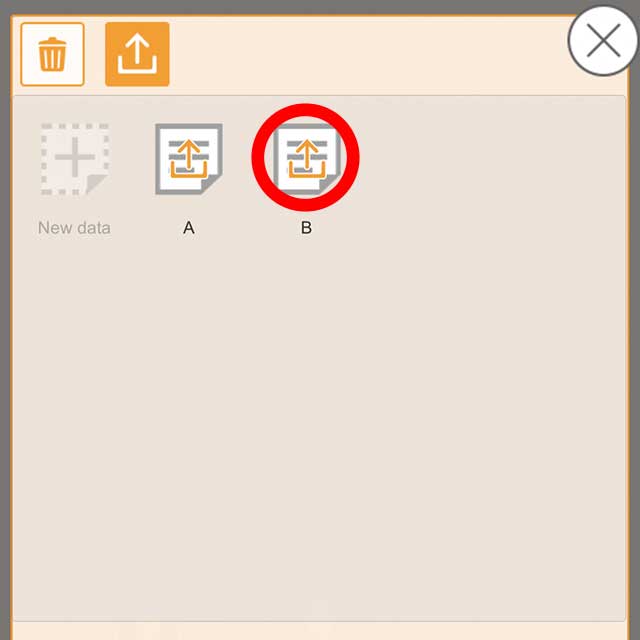
Select the file you want to export
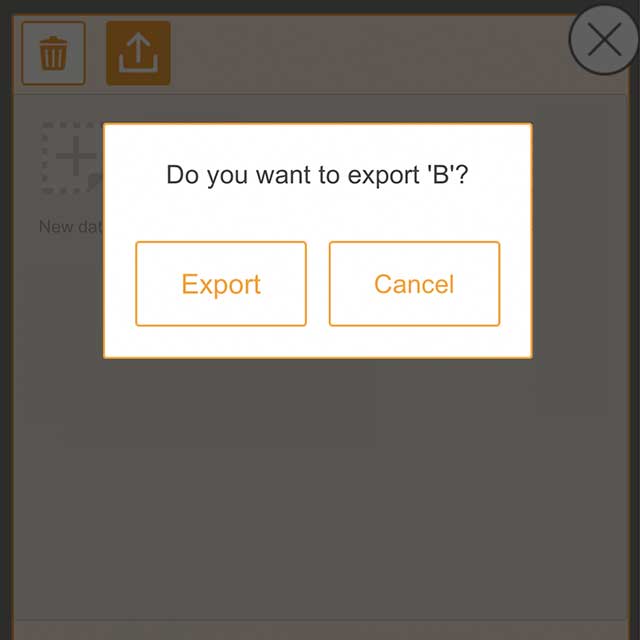
Select the file you want to export
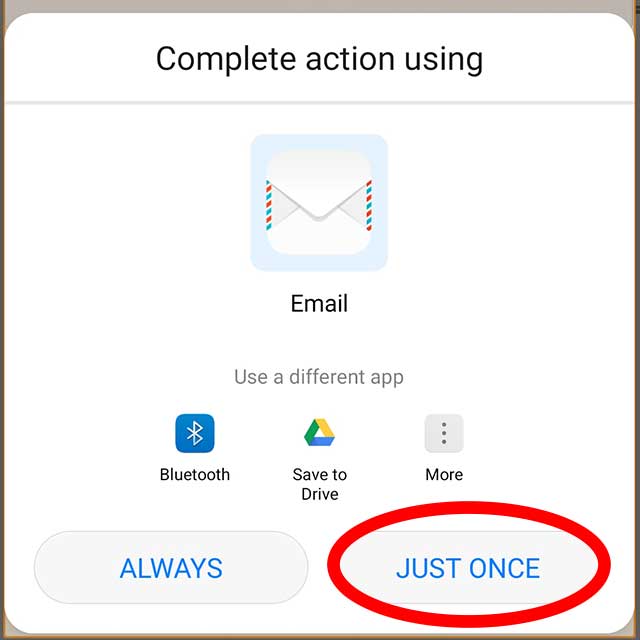
Select the data output destination.
Below, it depends on what is installed & set in each terminal.
[Example] For email
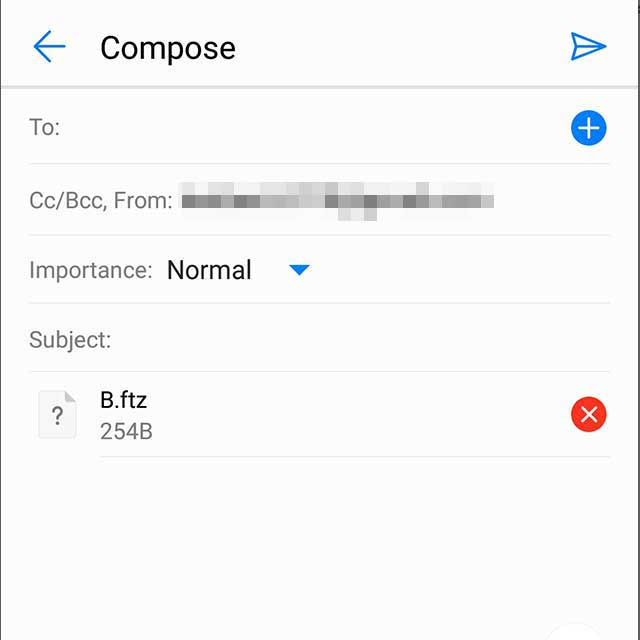
If you tap "Mail", it will be output as an attached file. Please select a destination and send it to the other party.
[Example] For Google Drive
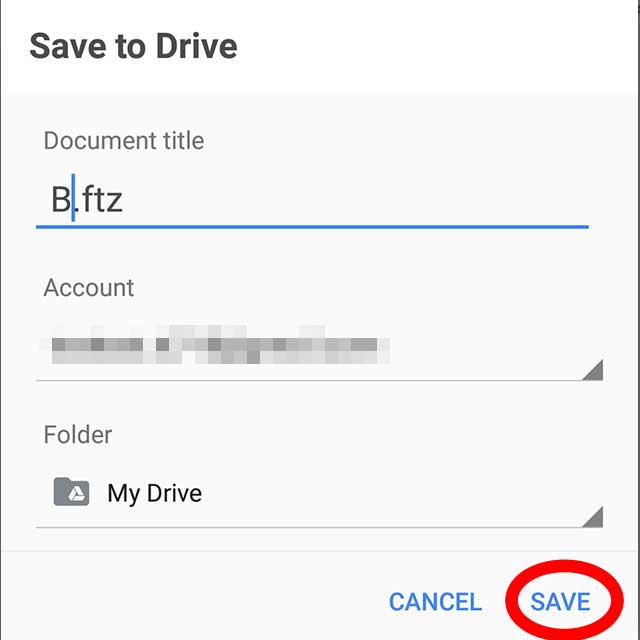
Tap "Drive" to save the file. Set the storage location etc. and tap "SAVE".
[Example] For Dropbox
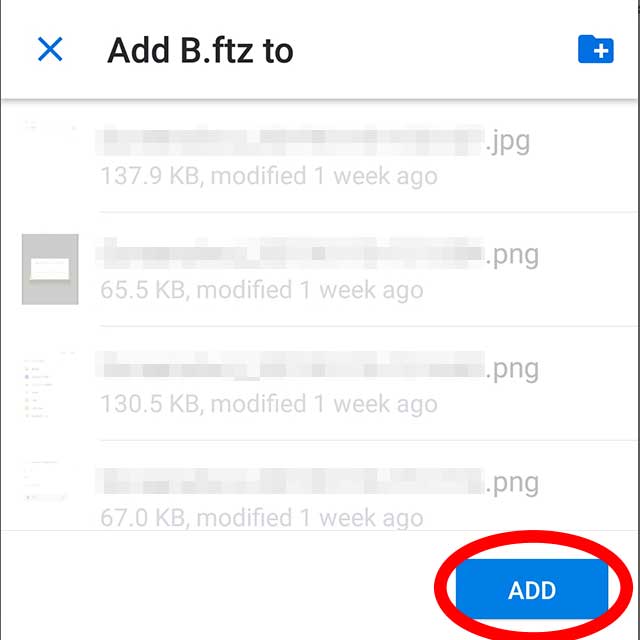
Tap "Add to Dropbox" to save the file. Set the save location and tap "Add".
(If you tap the "Share with Dropbox" button instead of "Add to Dropbox", the behavior will be a little different)
The display differs slightly depending on the type of OS and terminal.
Click here for iOS

[Example] For Files
Tap "…" to the right of the file name, then tap "Share" in the menu that appears.
[Example] For email
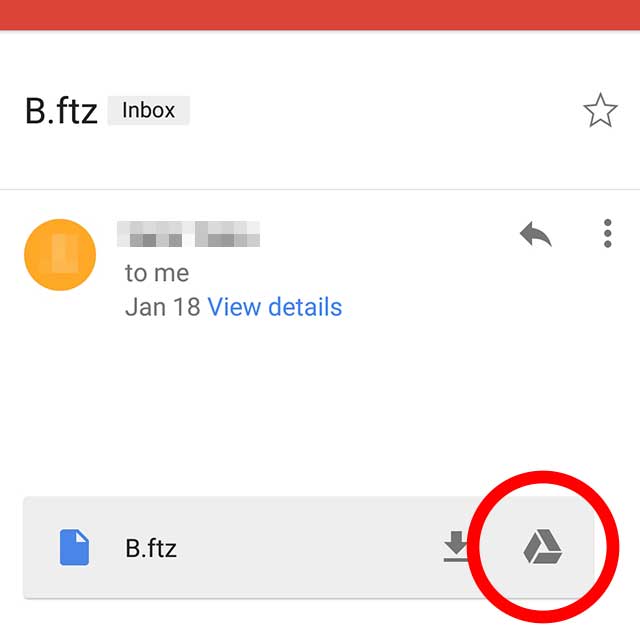
Tap the attached file with the extension .ftz and tap the Google Drive mark.
[Example] For Google Drive
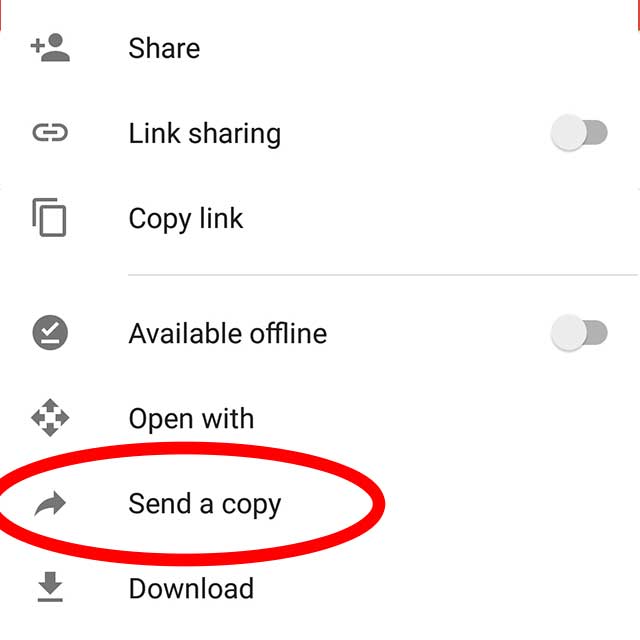
Tap "…" to the right of the file name, then tap "Send a copy" in the menu that appears.
[Example] For Dropbox
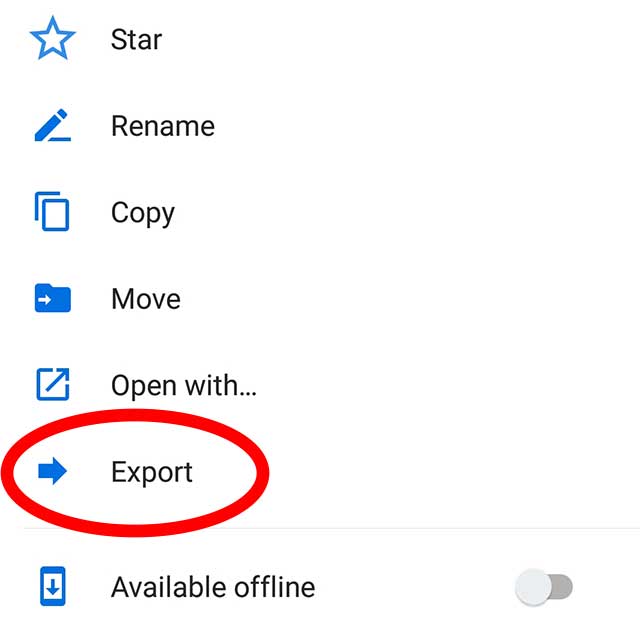
Tap "…" to the right of the file name, then tap "Export" in the menu that appears.
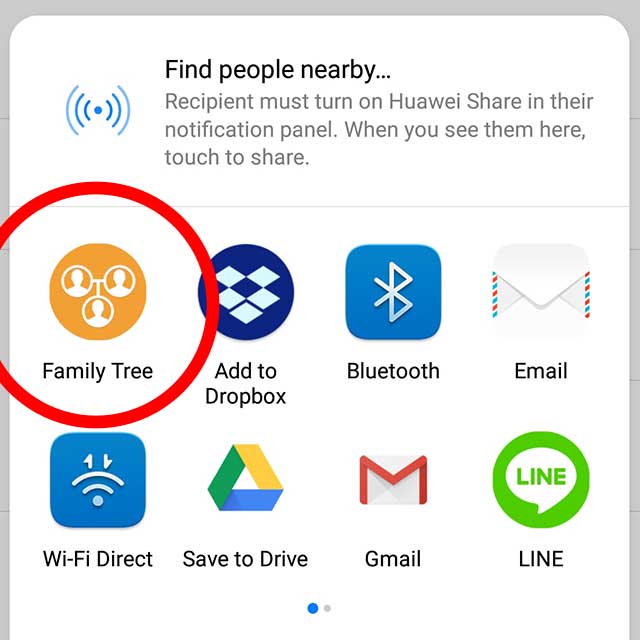
Tap "Family Tree" in the menu that appears from the bottom.
(The display differs depending on the application.)
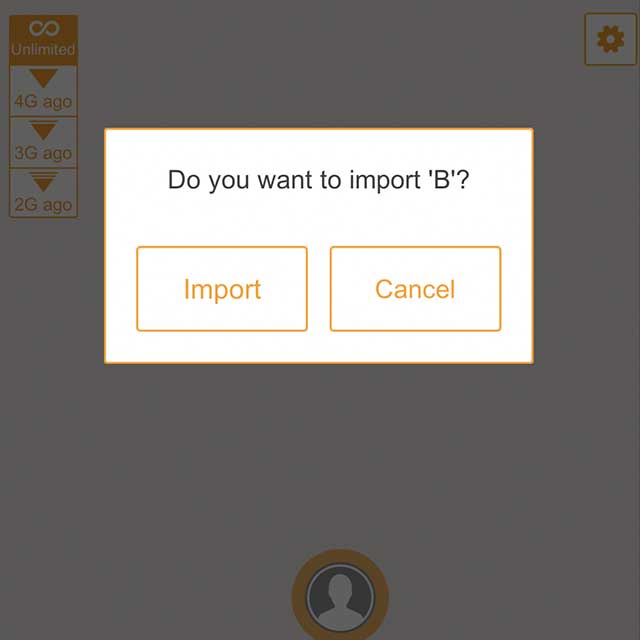
Select "Import" in the dialog
In this state, since the imported data is not displayed yet, tap the "gear" button on the upper right to display the setting screen
Tap "Data manager" on the upper left and tap the added data to open
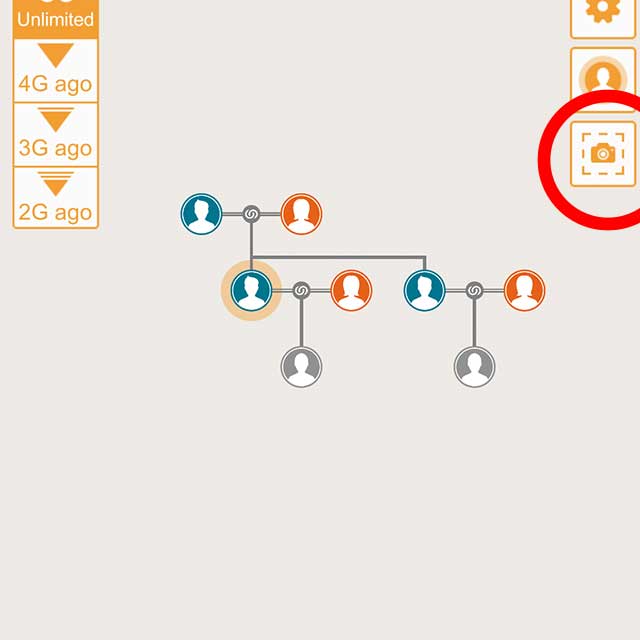
Tap the camera icon at the top right
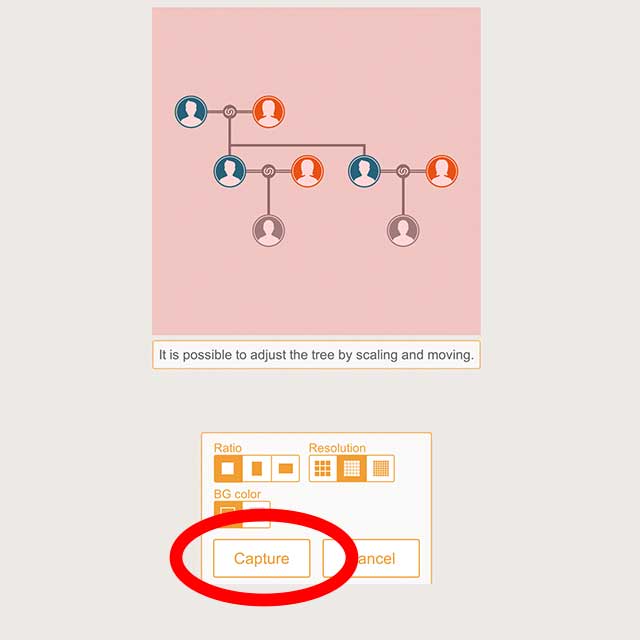
Put the image in the frame you want to print and tap the “Capture” button
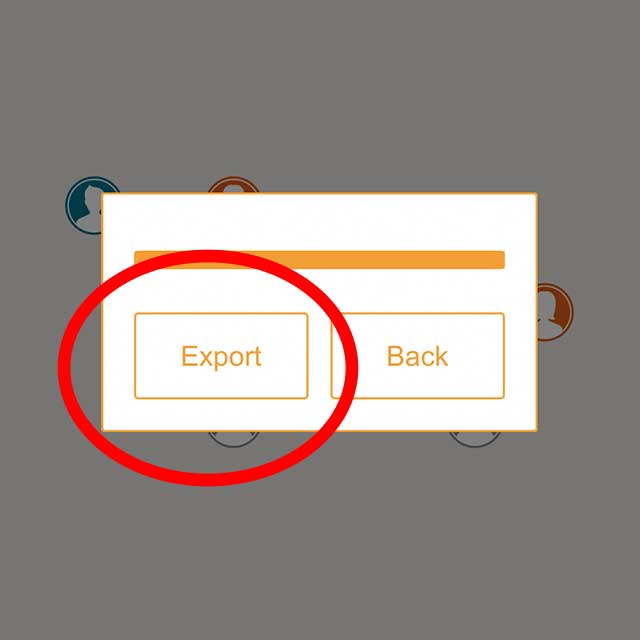
Tap the "Export" button.
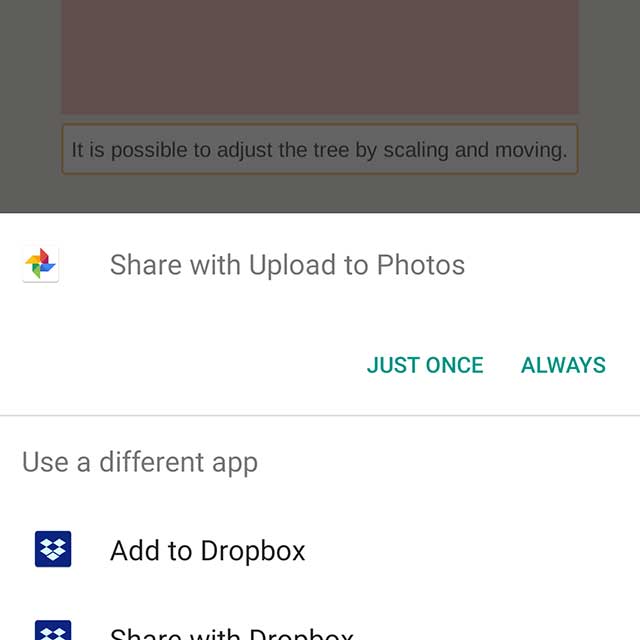
Select the output destination etc. from the OS menu
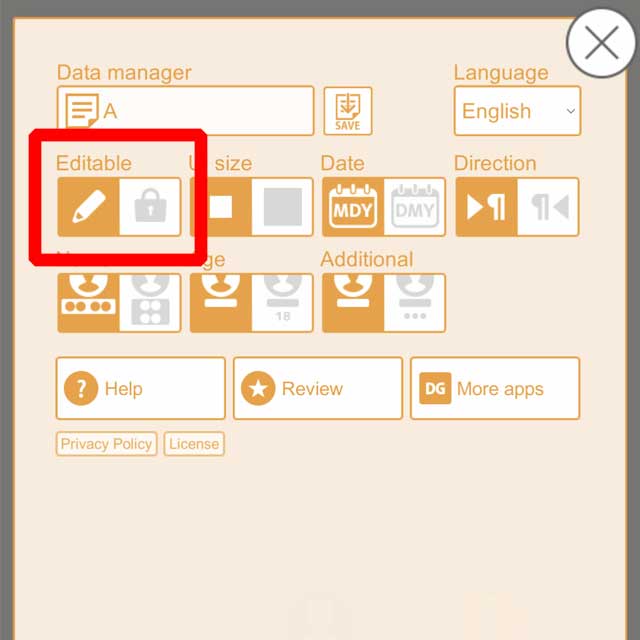
Switch between editable and prohibited
"Pencil" icon ... editable
"Key" icon ... Edit prohibited
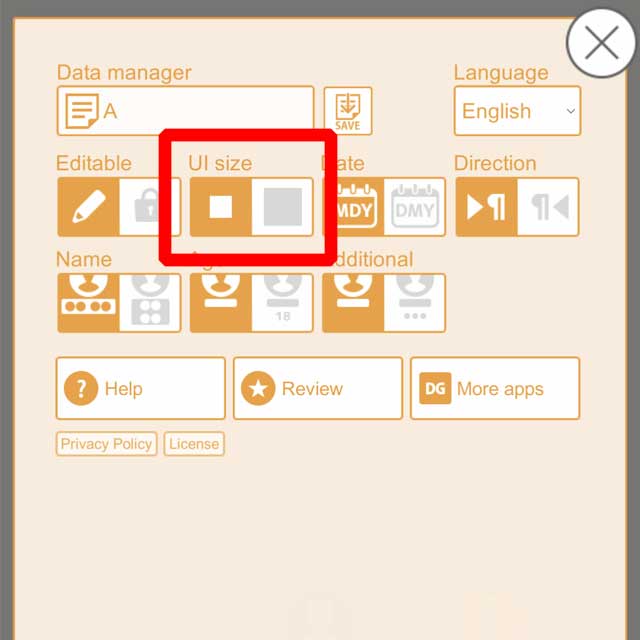
Switch between smaller or larger UI size
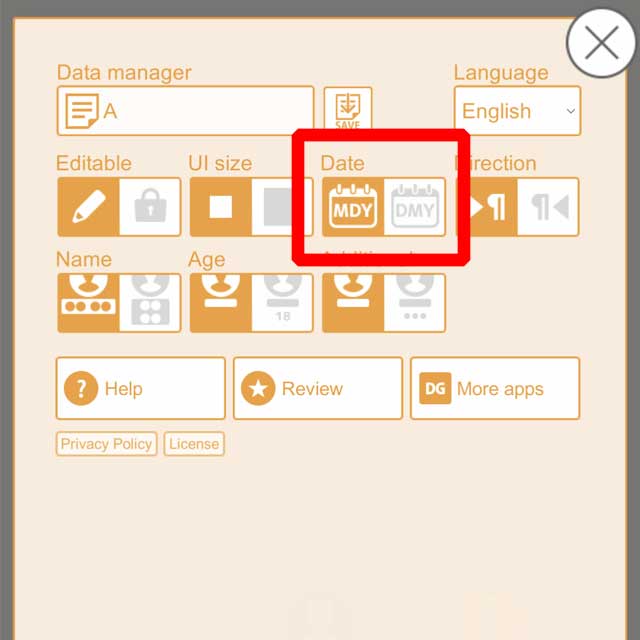
Change date notation
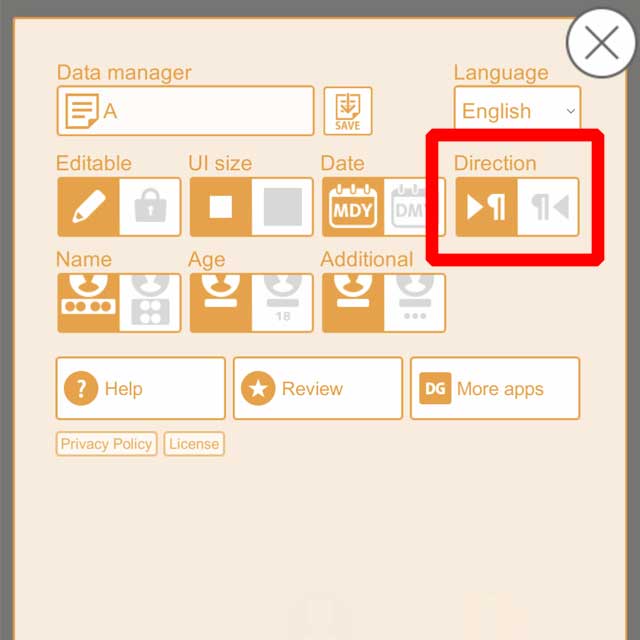
Change the Direction of the sentence
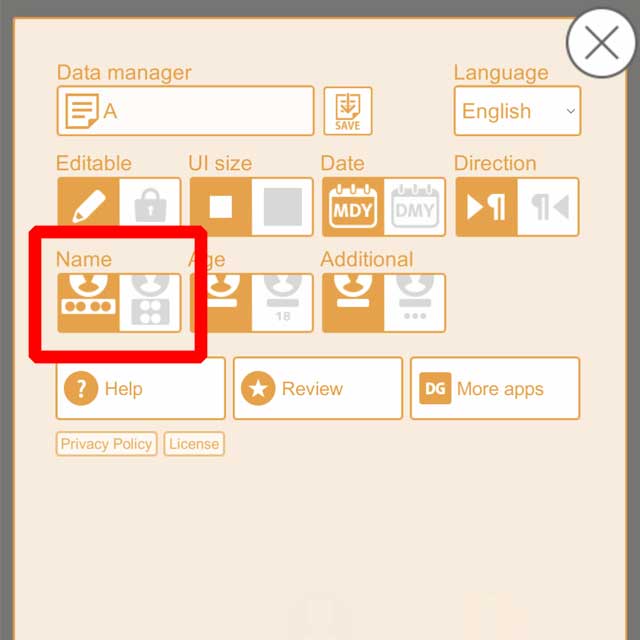
Toggle between one line and two lines for name notation
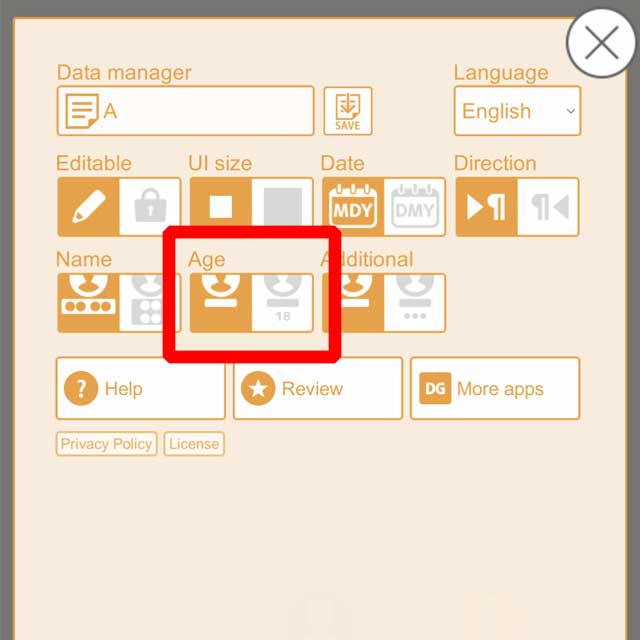
Toggle whether to show age

Switch whether to display Additional field
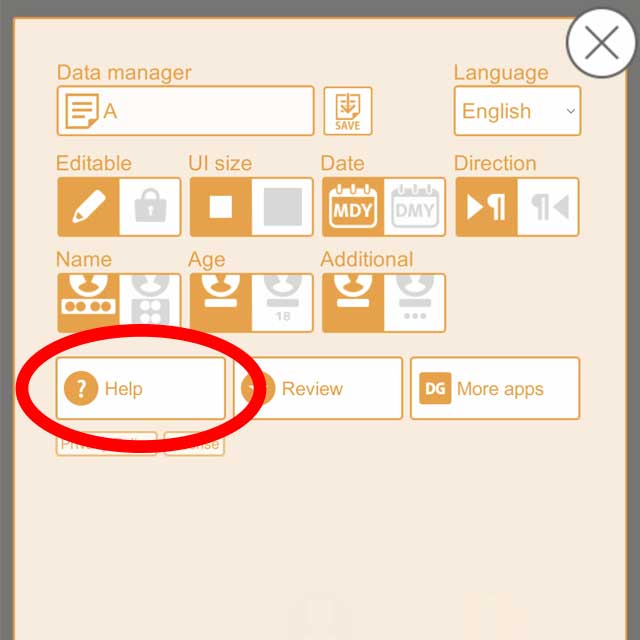
This help page is displayed
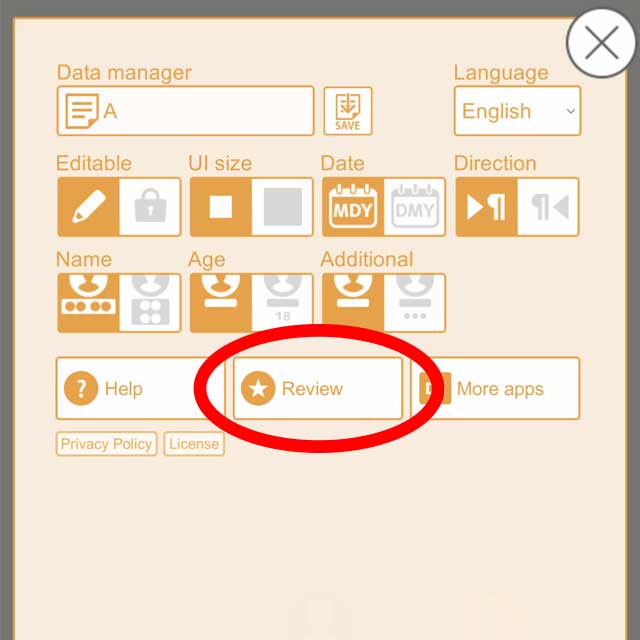
Connect to Store Review
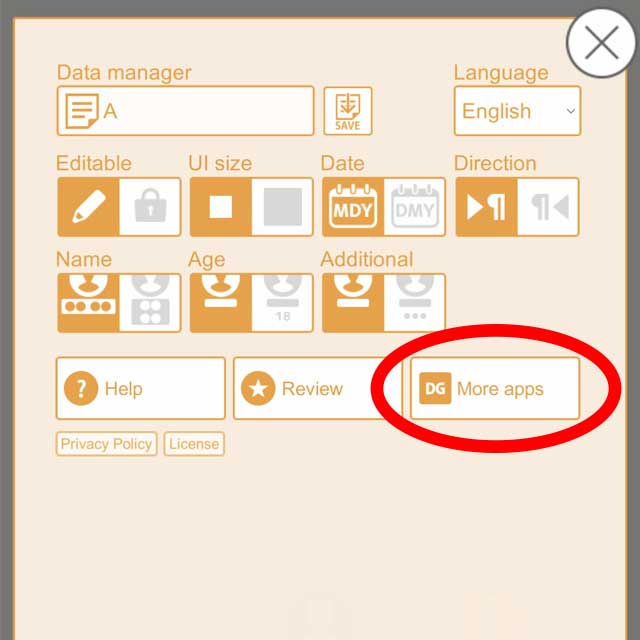
A list of other apps of "Digital Gene" of the developer of this app will be displayed
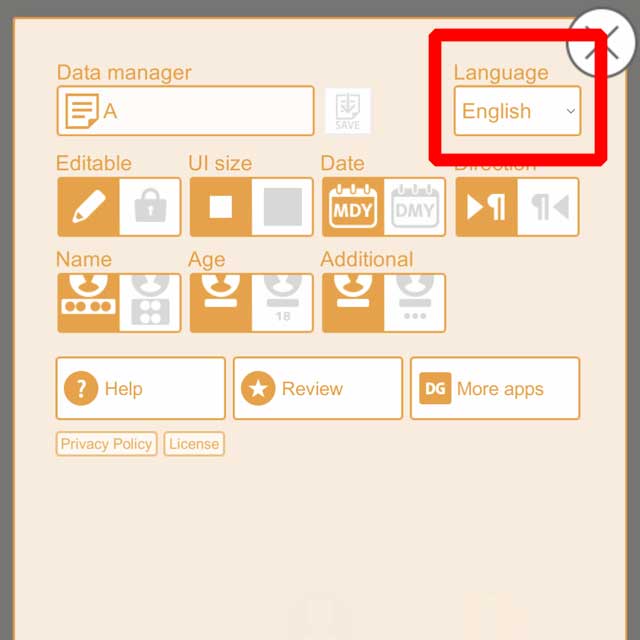
Language switching
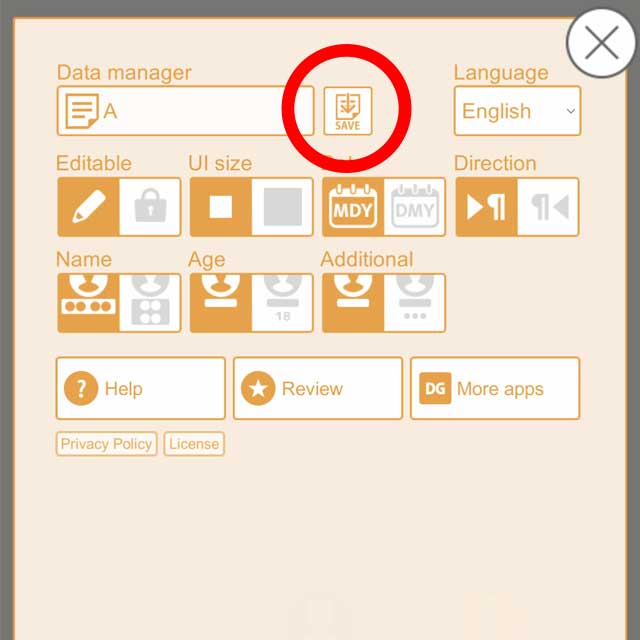
Save the data now (basically, the data is saved automatically)
